How Nearby Cities Can Affect Local Wild Spaces

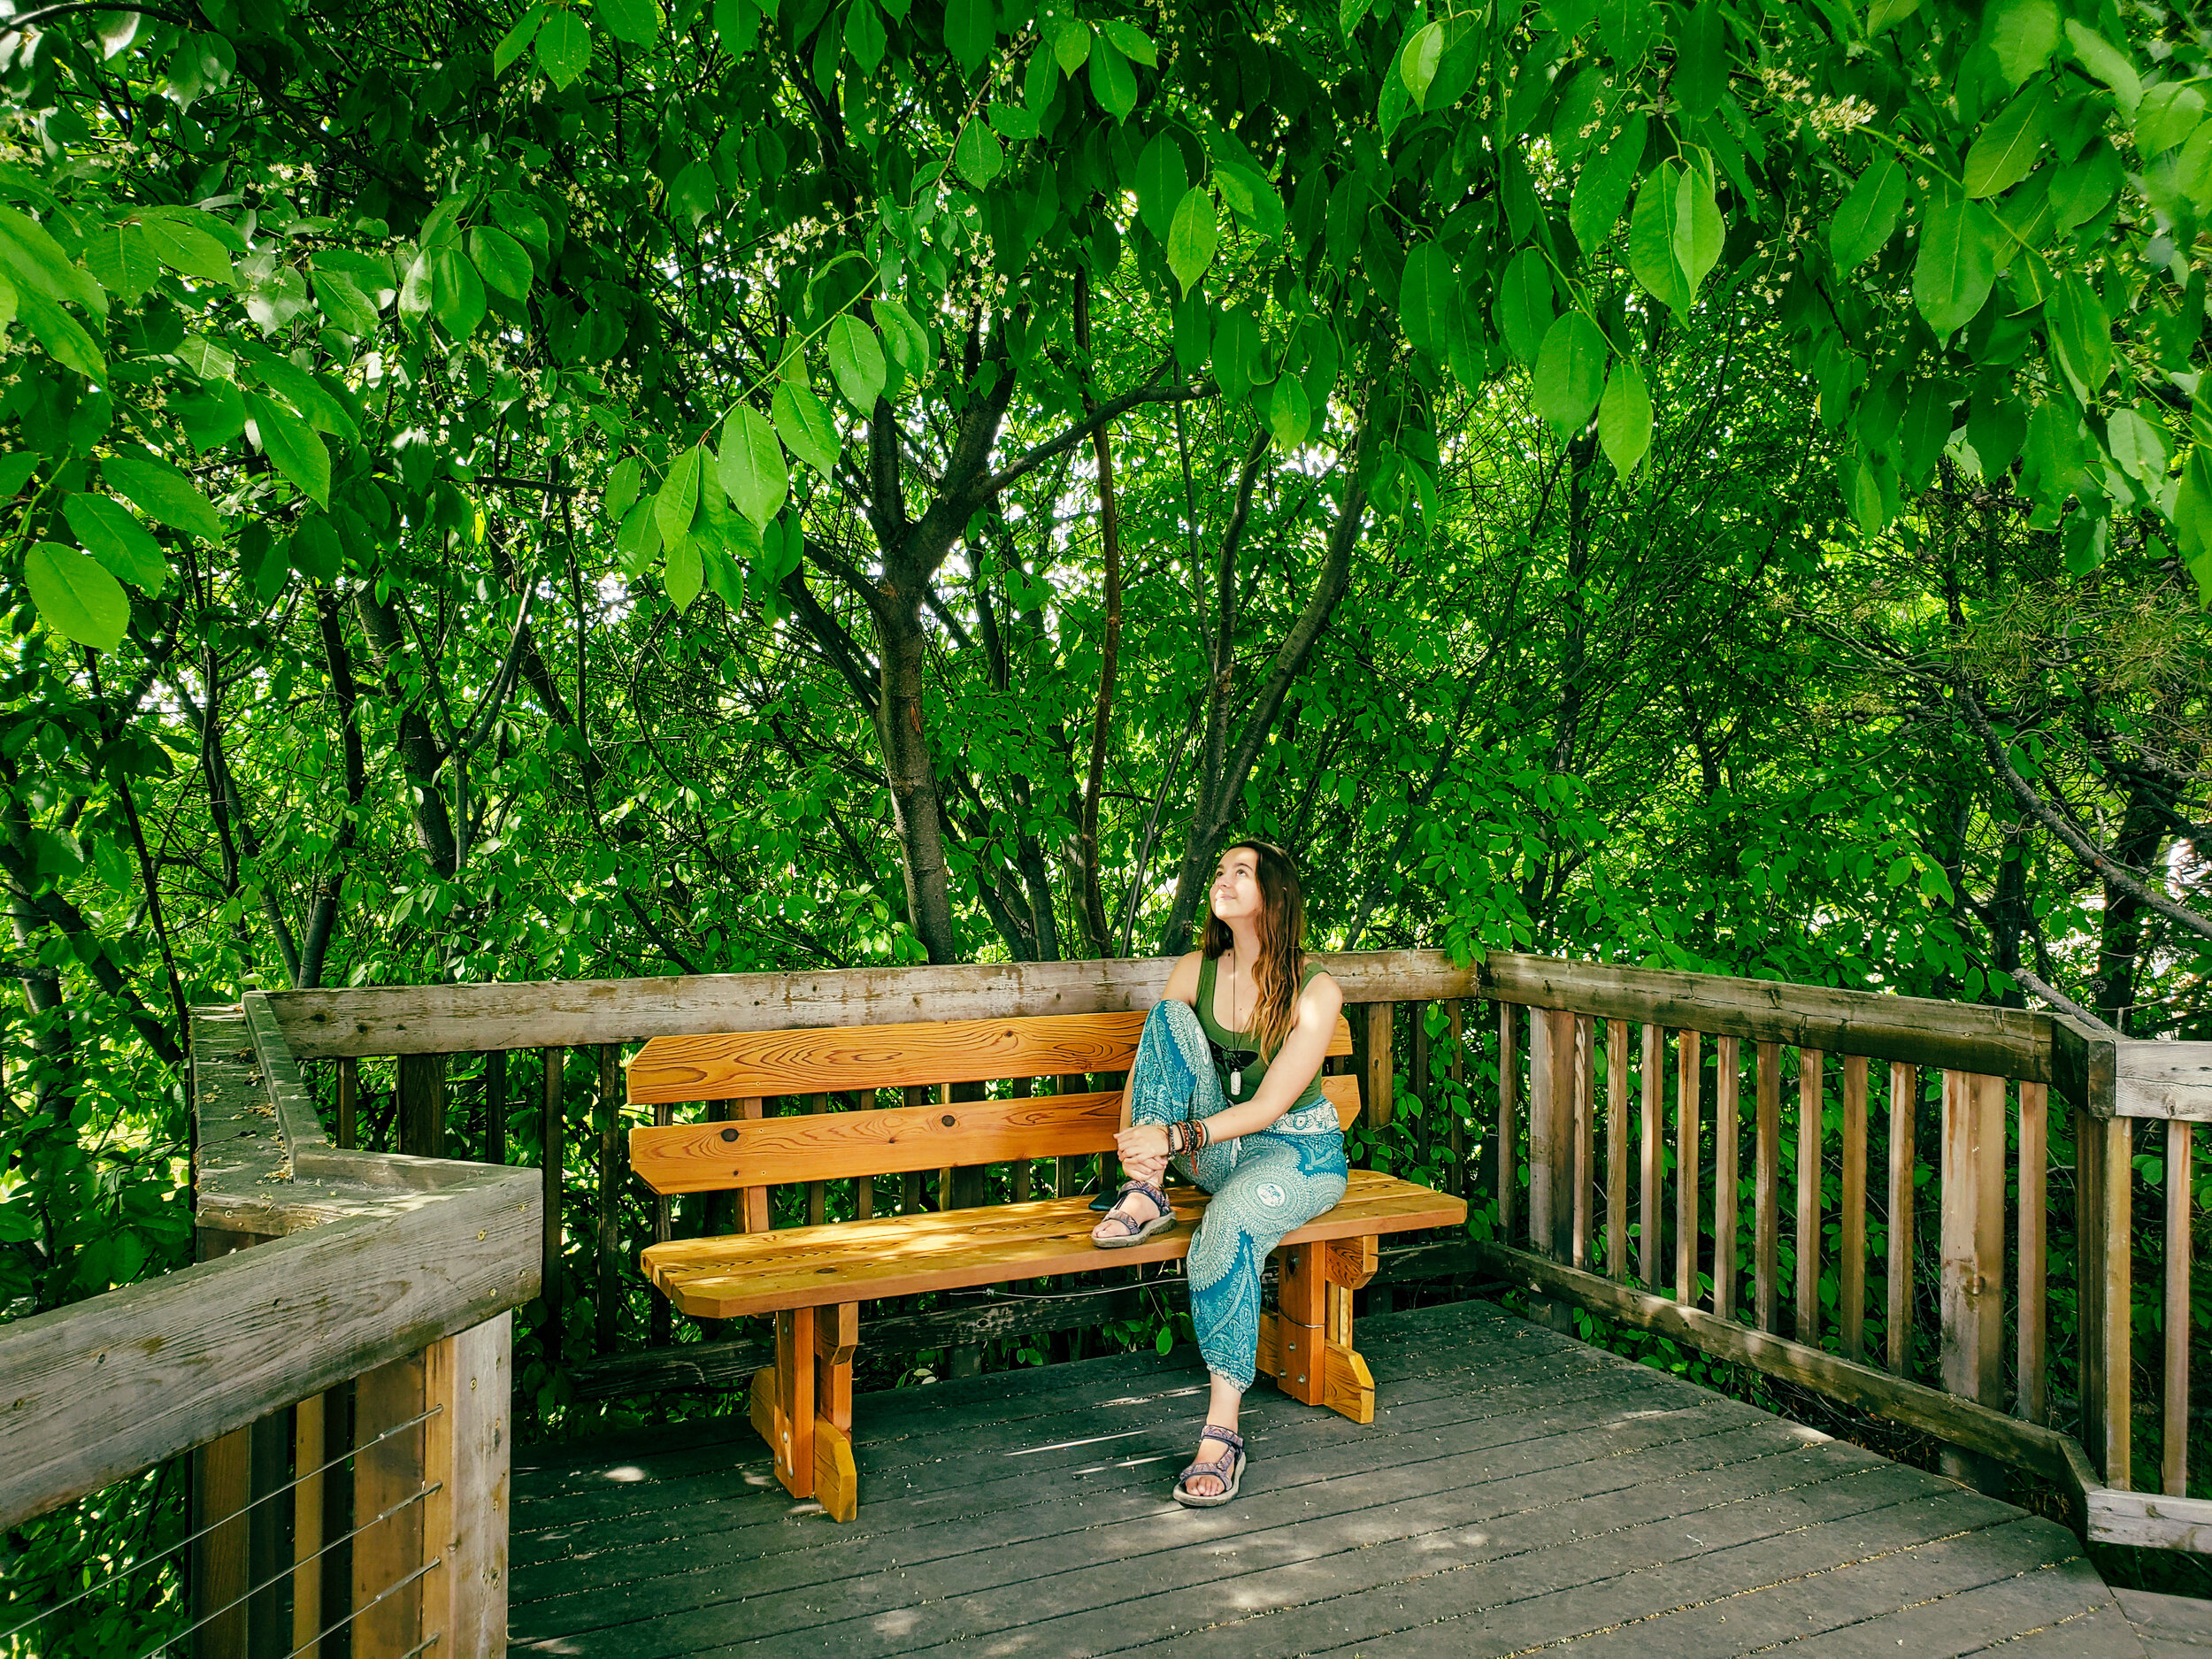
There’s something special about having access to beautiful outdoor spaces, especially when you live in a big city. Proximity to nature means more chances to spend time outside, which can help improve mental health, physical health, and actually increases the likelihood of someone working to further protect their local outdoor spaces. The thing is, though, easy access to outdoor spaces can have its cons as well as its pros, and this article is here to unpack all of it.

How can our impacts both negatively and positively affect our local wild spaces, and how are those things amplified when it comes to wild spaces that are located in proximity to large cities?

access without education

Living in a city that has close access to outdoor spaces can be amazing. You’ve got hiking trails nearby, there are beautiful views, and you’ll get close up access to natural phenomena like California’s Superbloom (if you live in a place like LA). When people live near natural spaces, they’re more likely to spend time outdoors, which is amazing because of the impacts that recreation CAN have on conservation.

But there can also be a downside, especially due to a lack of education when it comes to how to properly care for and respect public lands and wild spaces, coupled with the sheer amount of people who sometimes overcrowd and overuse natural areas without realizing that these areas are heavily impacted by irresponsible actions like going off trail and violating trail restrictions.

According to Leave No Trace, a terrifying 9/10 people who recreate outside aren’t aware of the impact that they might have on the landscape they’re in. While of course, individual impact can be quite small, if you’re unaware, you won’t be able to reduce it either.

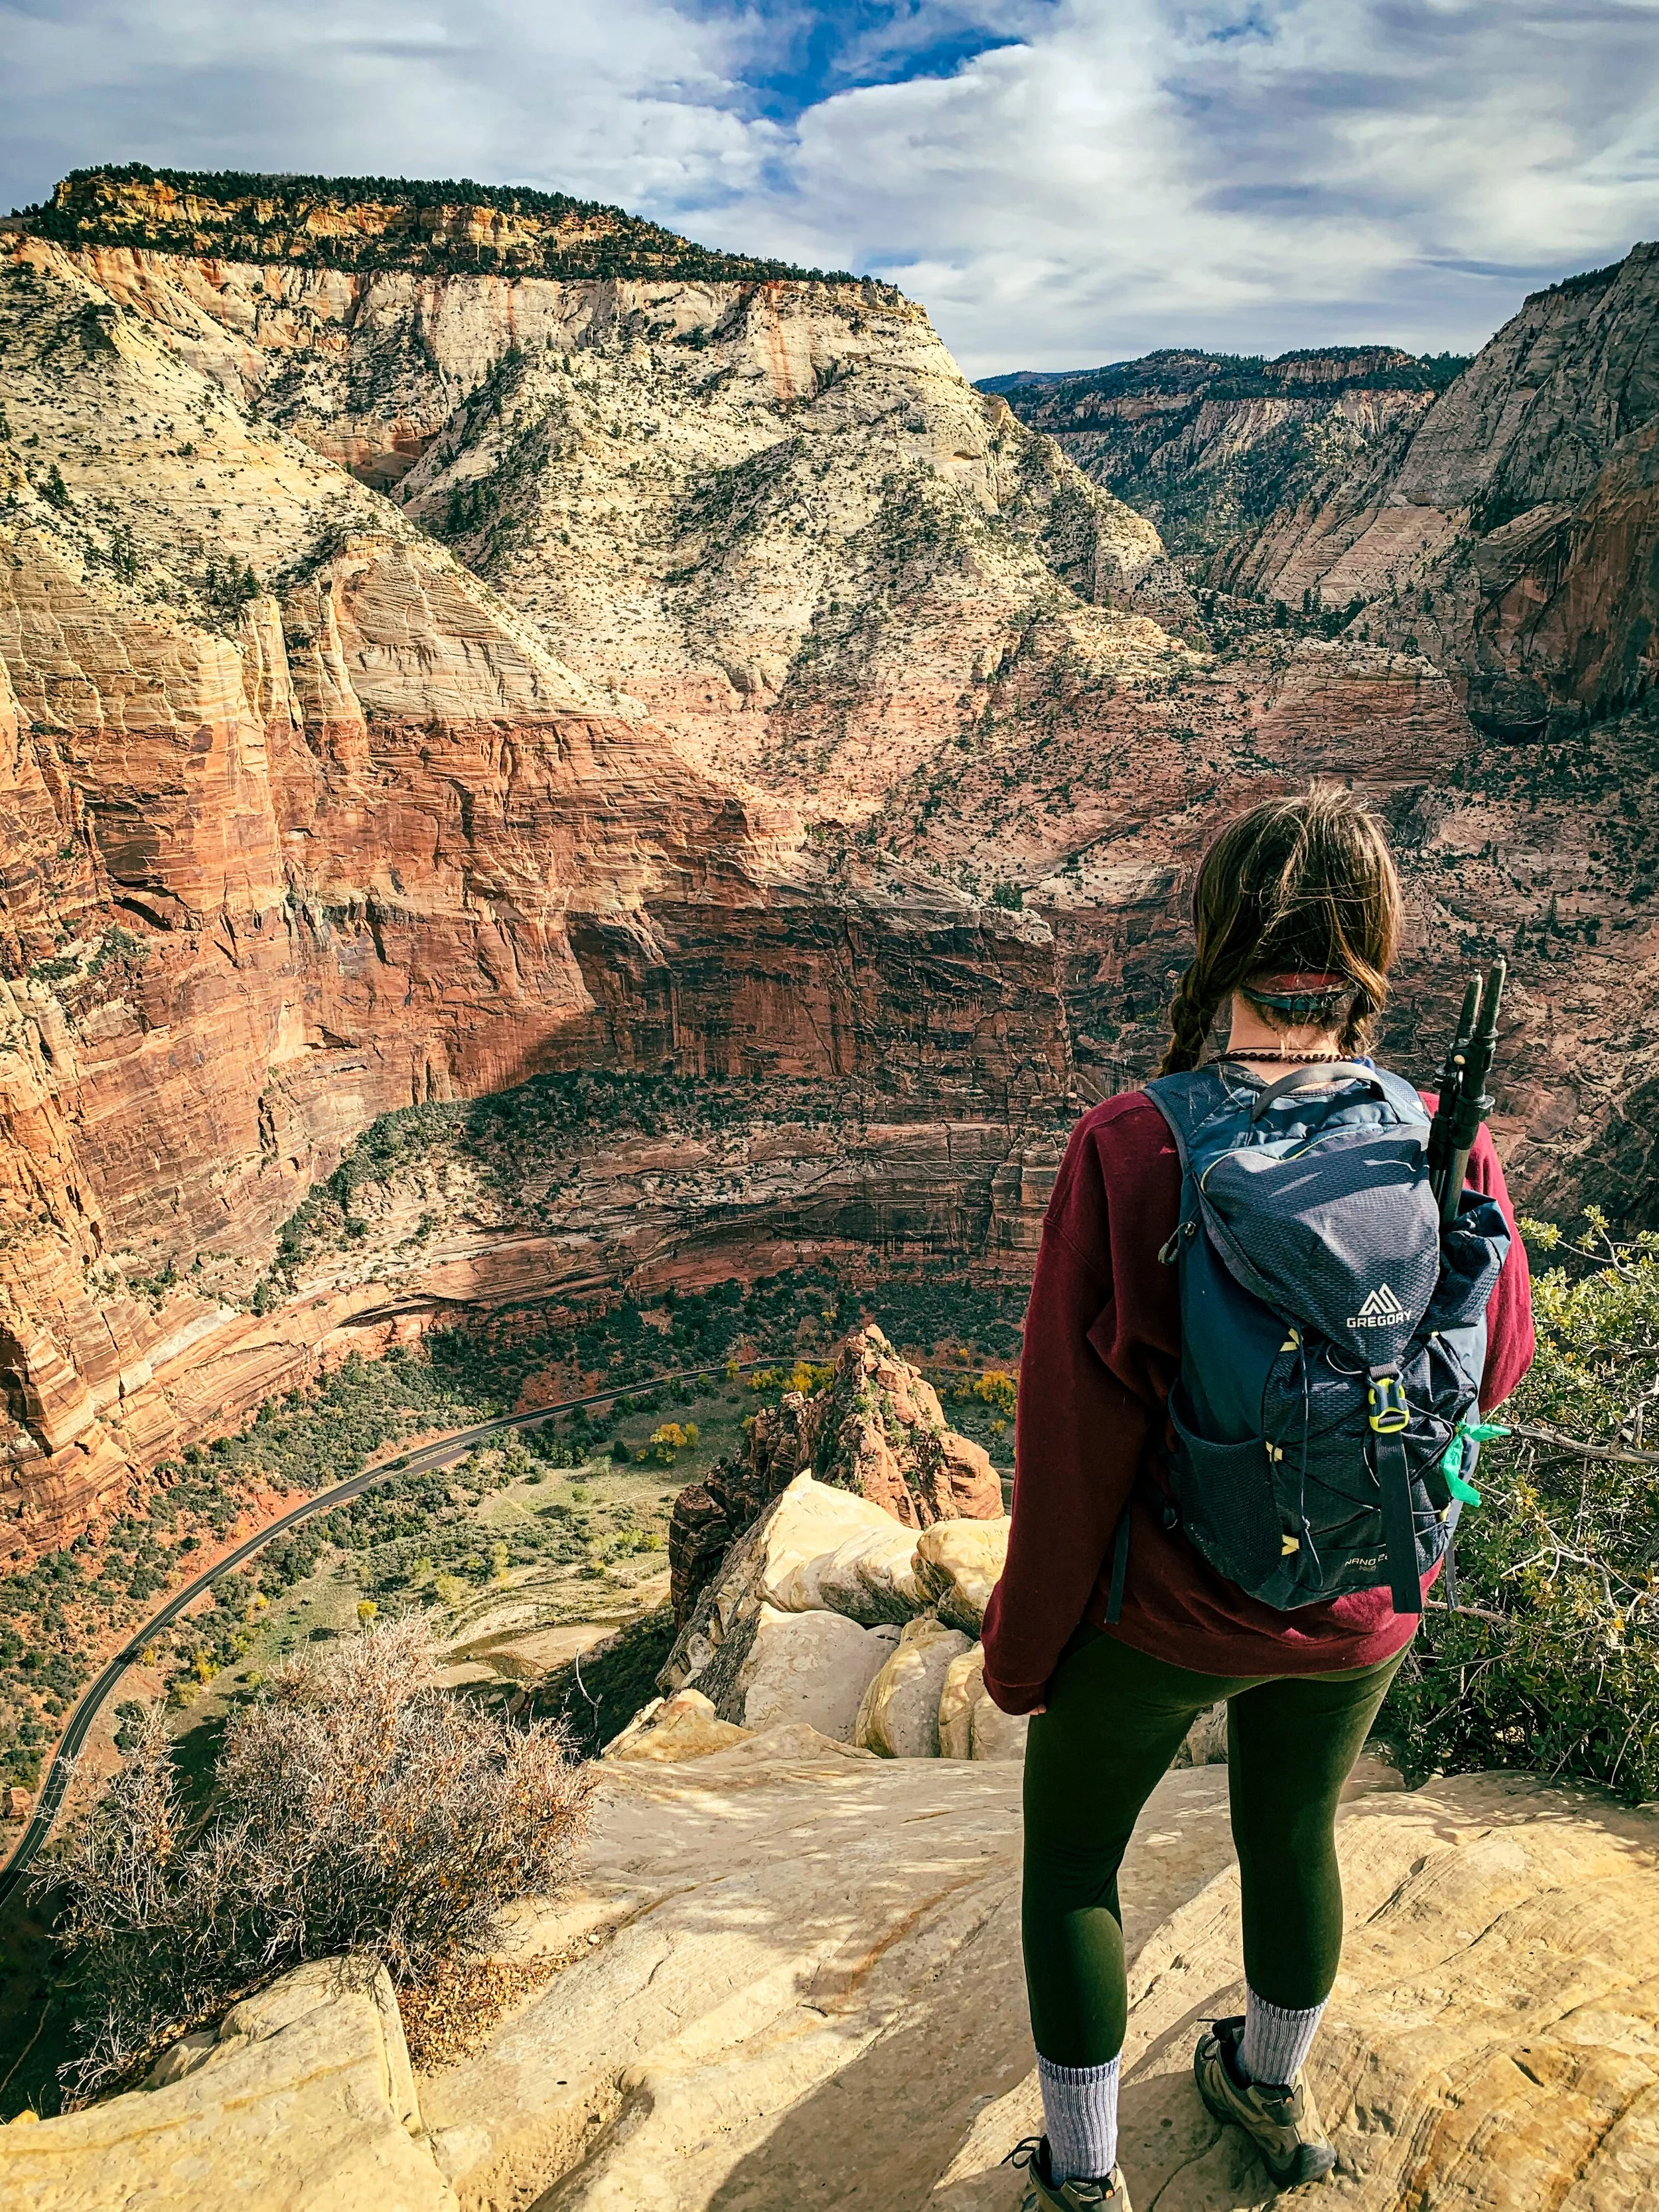
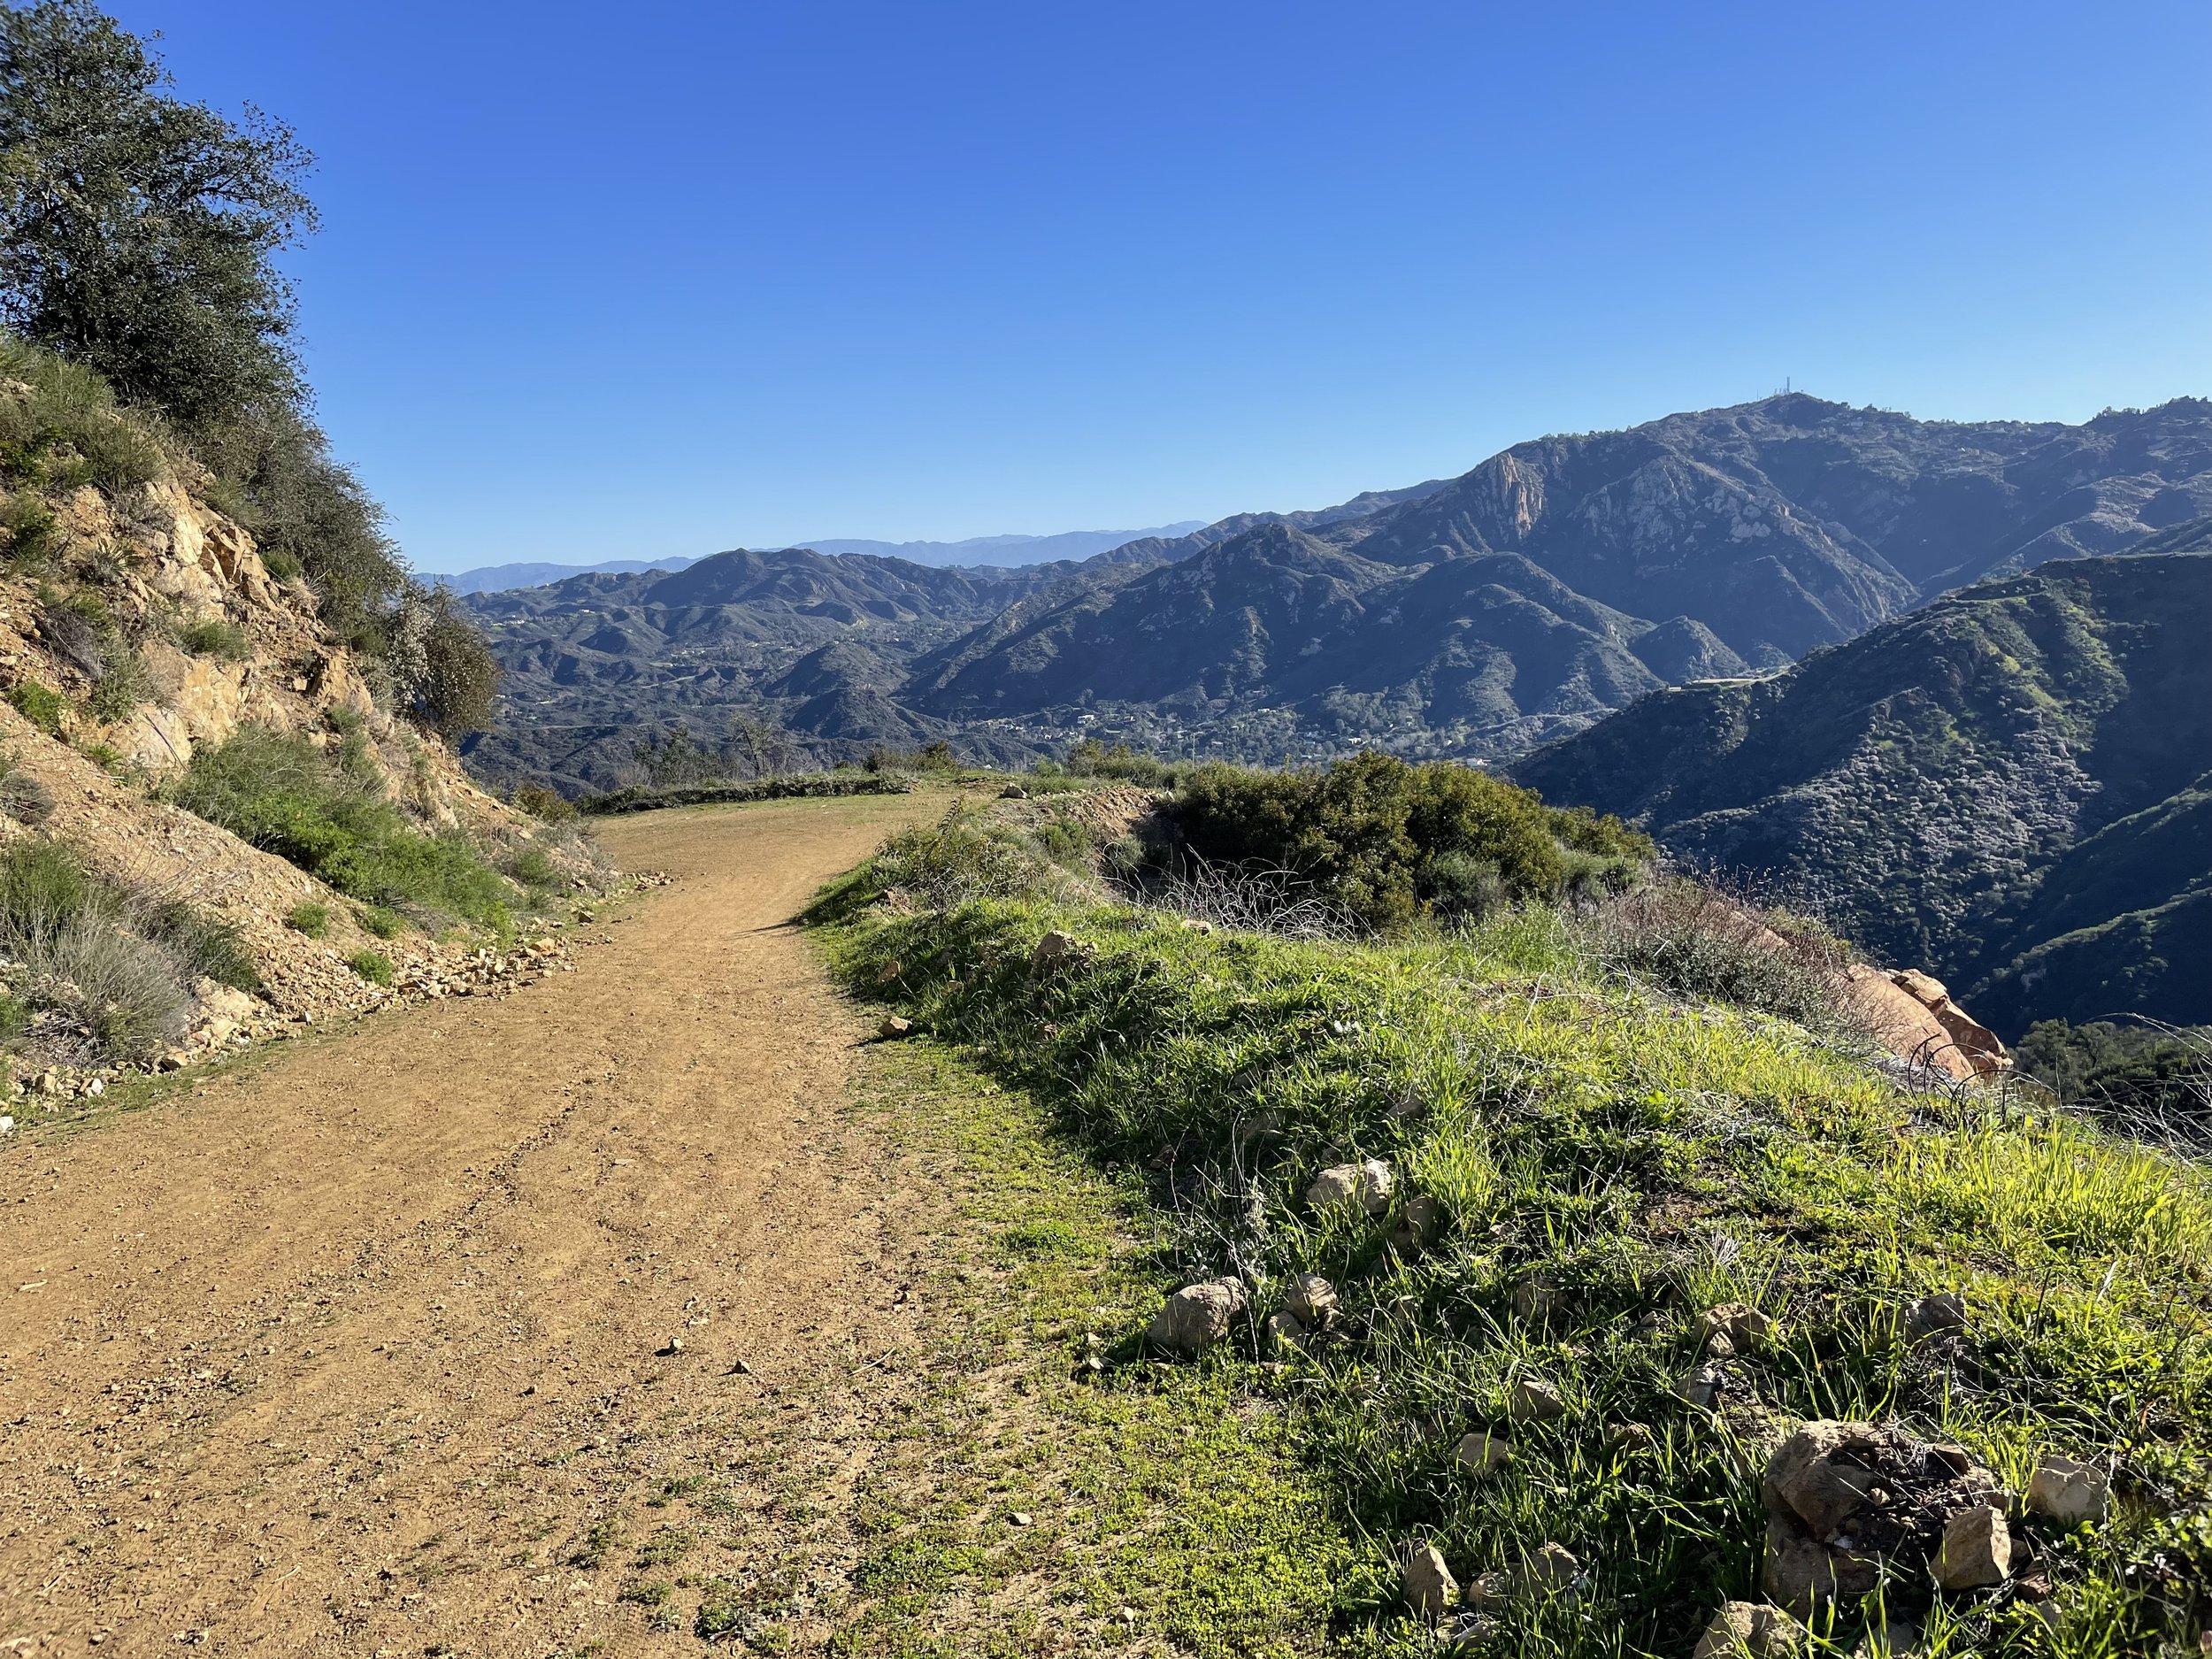
I recently thru hiked the Backbone Trail in Los Angeles county, which spans the length of the local Santa Monica Mountains. I did this with the purpose of helping to spread education and start a conversation about Leave No Trace and how irresponsible recreation has affected the mountains, especially due to the proximity of Los Angeles. I had a lot of conversations on trail surrounding this topic, and while many outdoor recreators agreed with me and told me they had noticed a similar disrespect towards the mountains in recent years, I also had conversations with people who were off trail in wildflower areas, or who blatantly asked me, “What’s Leave No Trace?”

Expanding education

In places with increased access to outdoor recreation, there needs to be increased access to outdoor education. This means not only implementing things like trail restrictions and permit systems to help directly protect places, but also explaining why these things are put in place so that people form a greater connection with the places they’re exploring through understanding.

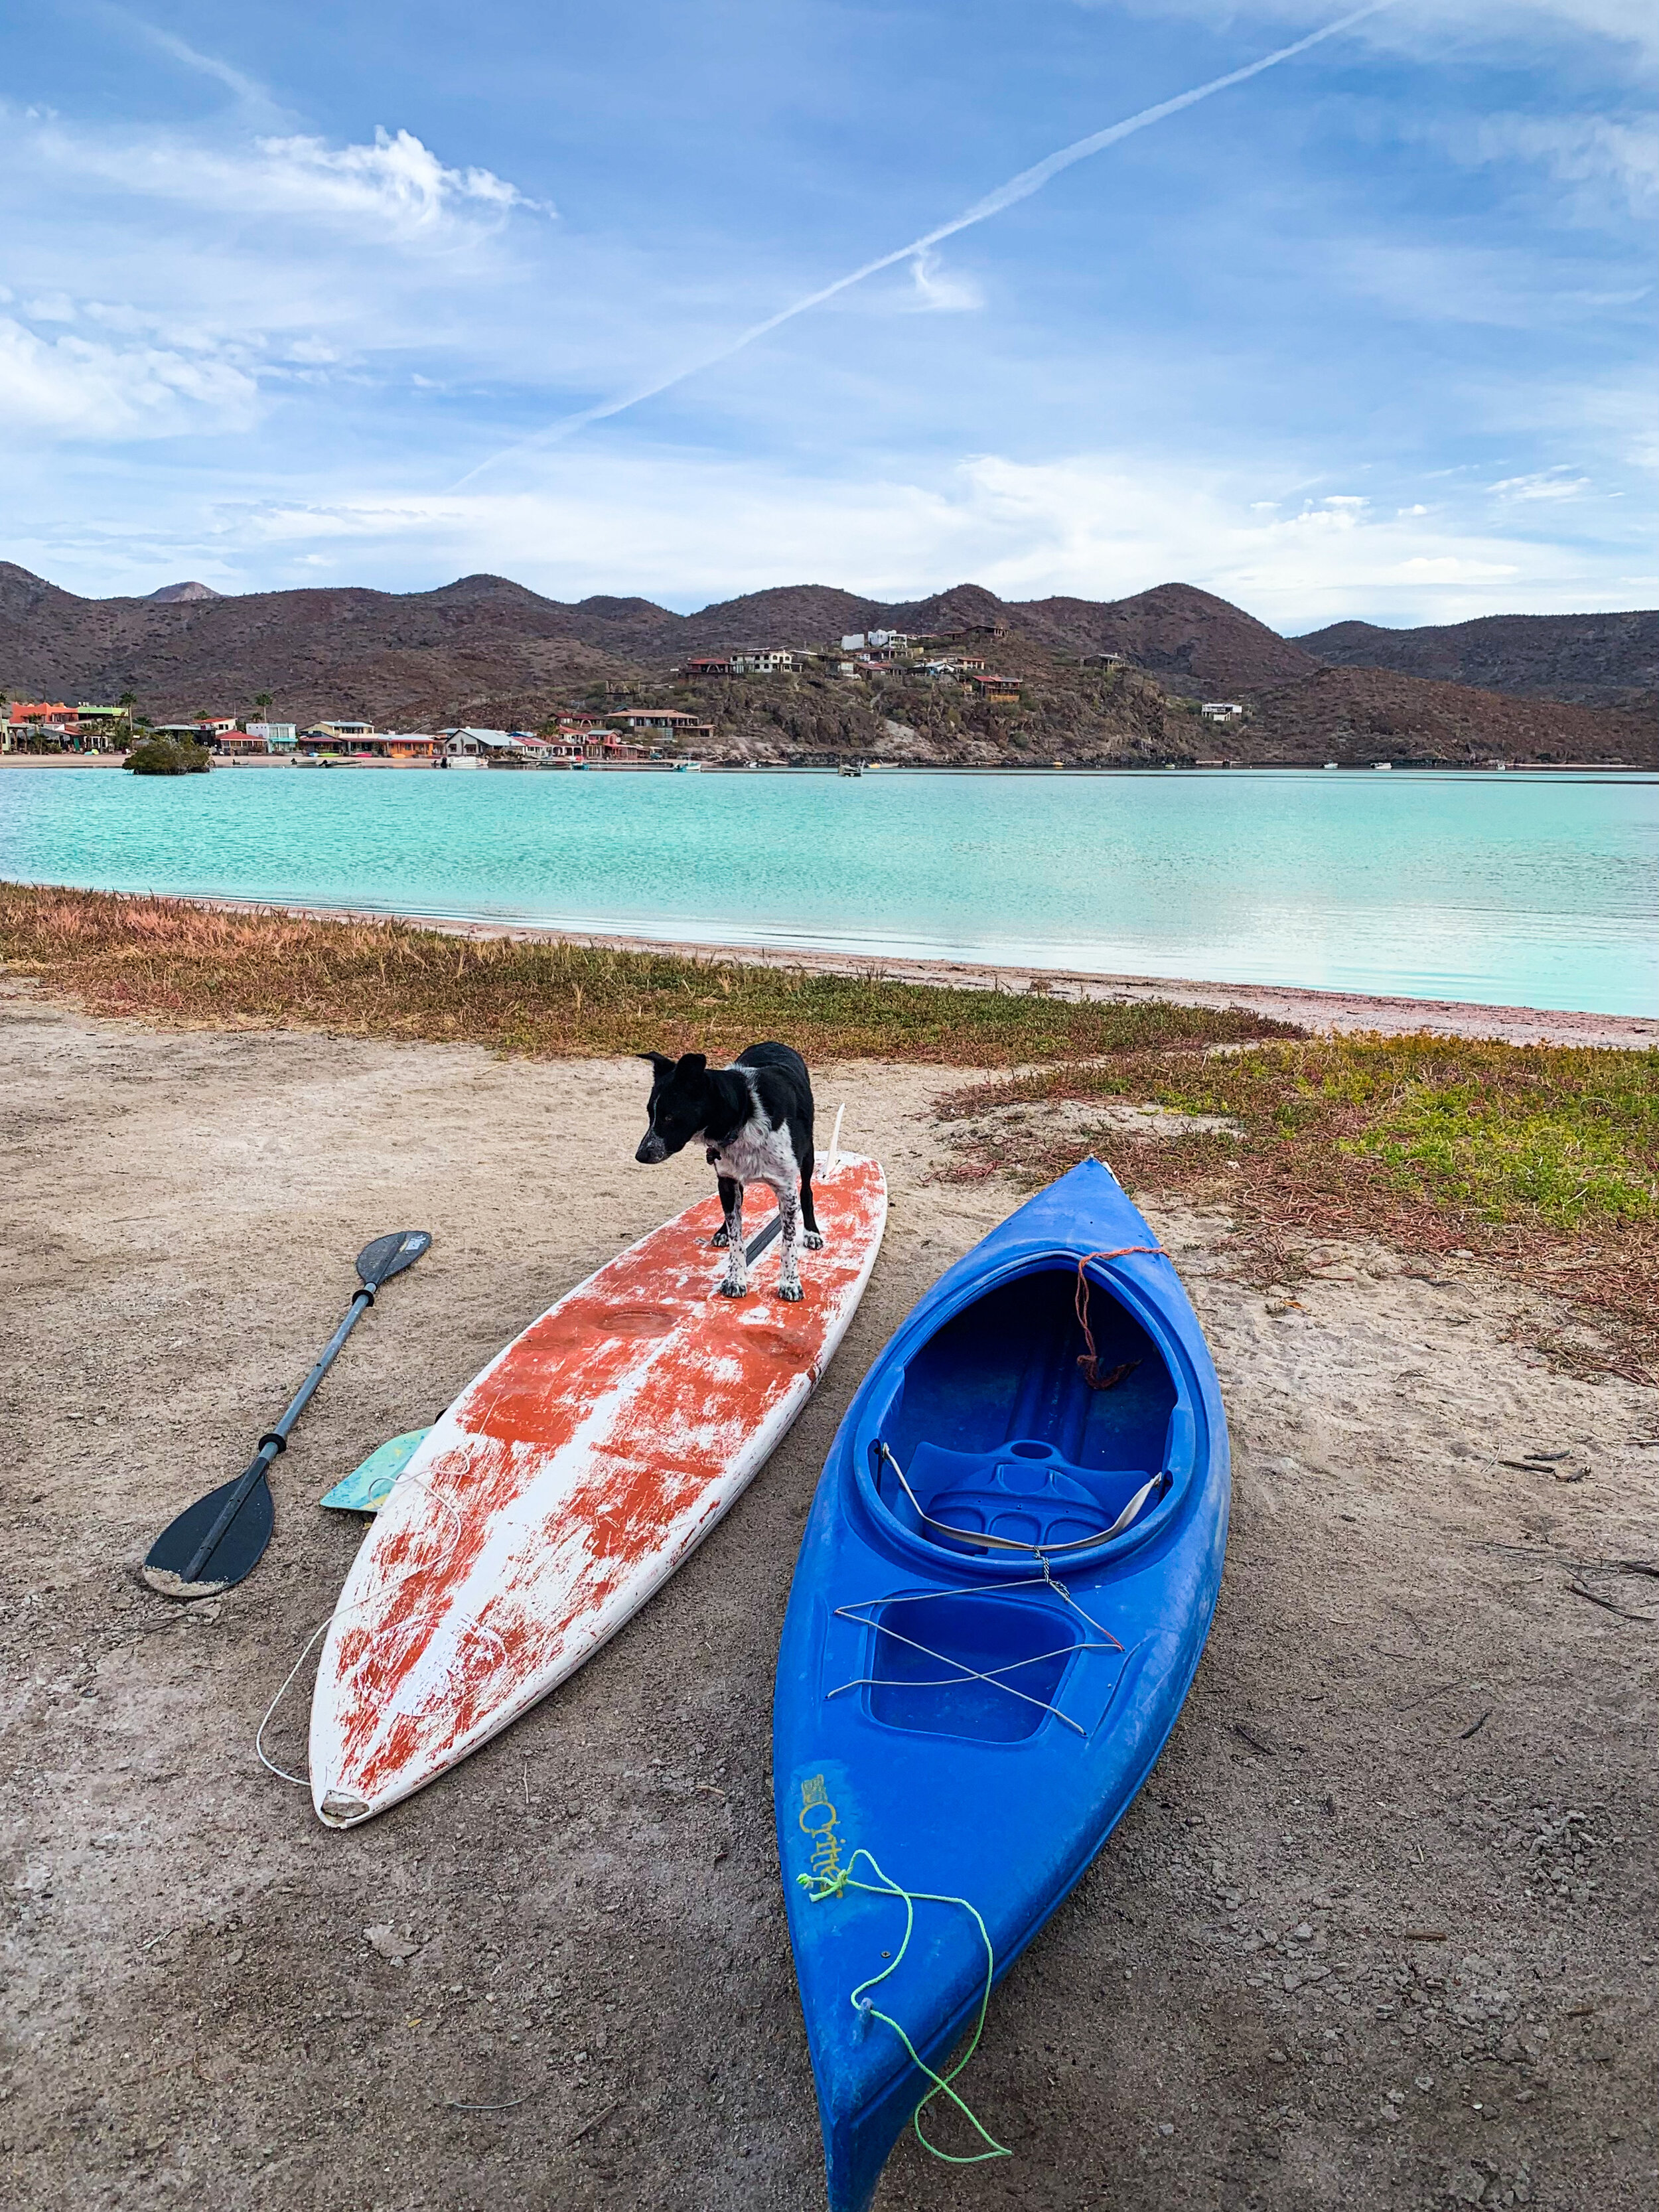
For example, simple changes can make a difference, such as creating signs indicating restrictions on dogs that state, “Dogs scare wildlife, no dogs are allowed on this trail,” or indicators of a bike restriction that state, “This area is affected by erosion, hikers only.” These things can help people to understand that these restrictions are not here to restrict their choices for no reason—there is a justification for them and if we respect these things, then we can enjoy these places longer. Because the reality is, the more times people ignore important restrictions like these, the more likely certain public land access is going to close (like recent changes to dispersed camping in Alabama Hills and Sedona).

When we think of outdoor education, we often think of programs for kids. This is what I do for work, and I love being able to teach the next generation about how we can care about our natural world, but expanding education goes beyond children. While increasing education is a hard task to take on as an individual, the best place to start is in our direct relationships and friendships. Starting conversations is the best way to help people learn and care more.

Educational resources I love

There is a great course on Leave No Trace linked below that takes about 20 minutes to complete and can help you to gain some understanding of how and why Leave No Trace is important.

Below is also a list of resources local to Los Angeles and the Santa Monica Mountains, as this unique mountain range is heavily affected by its proximity to the city.

How Recreation impacts conservation

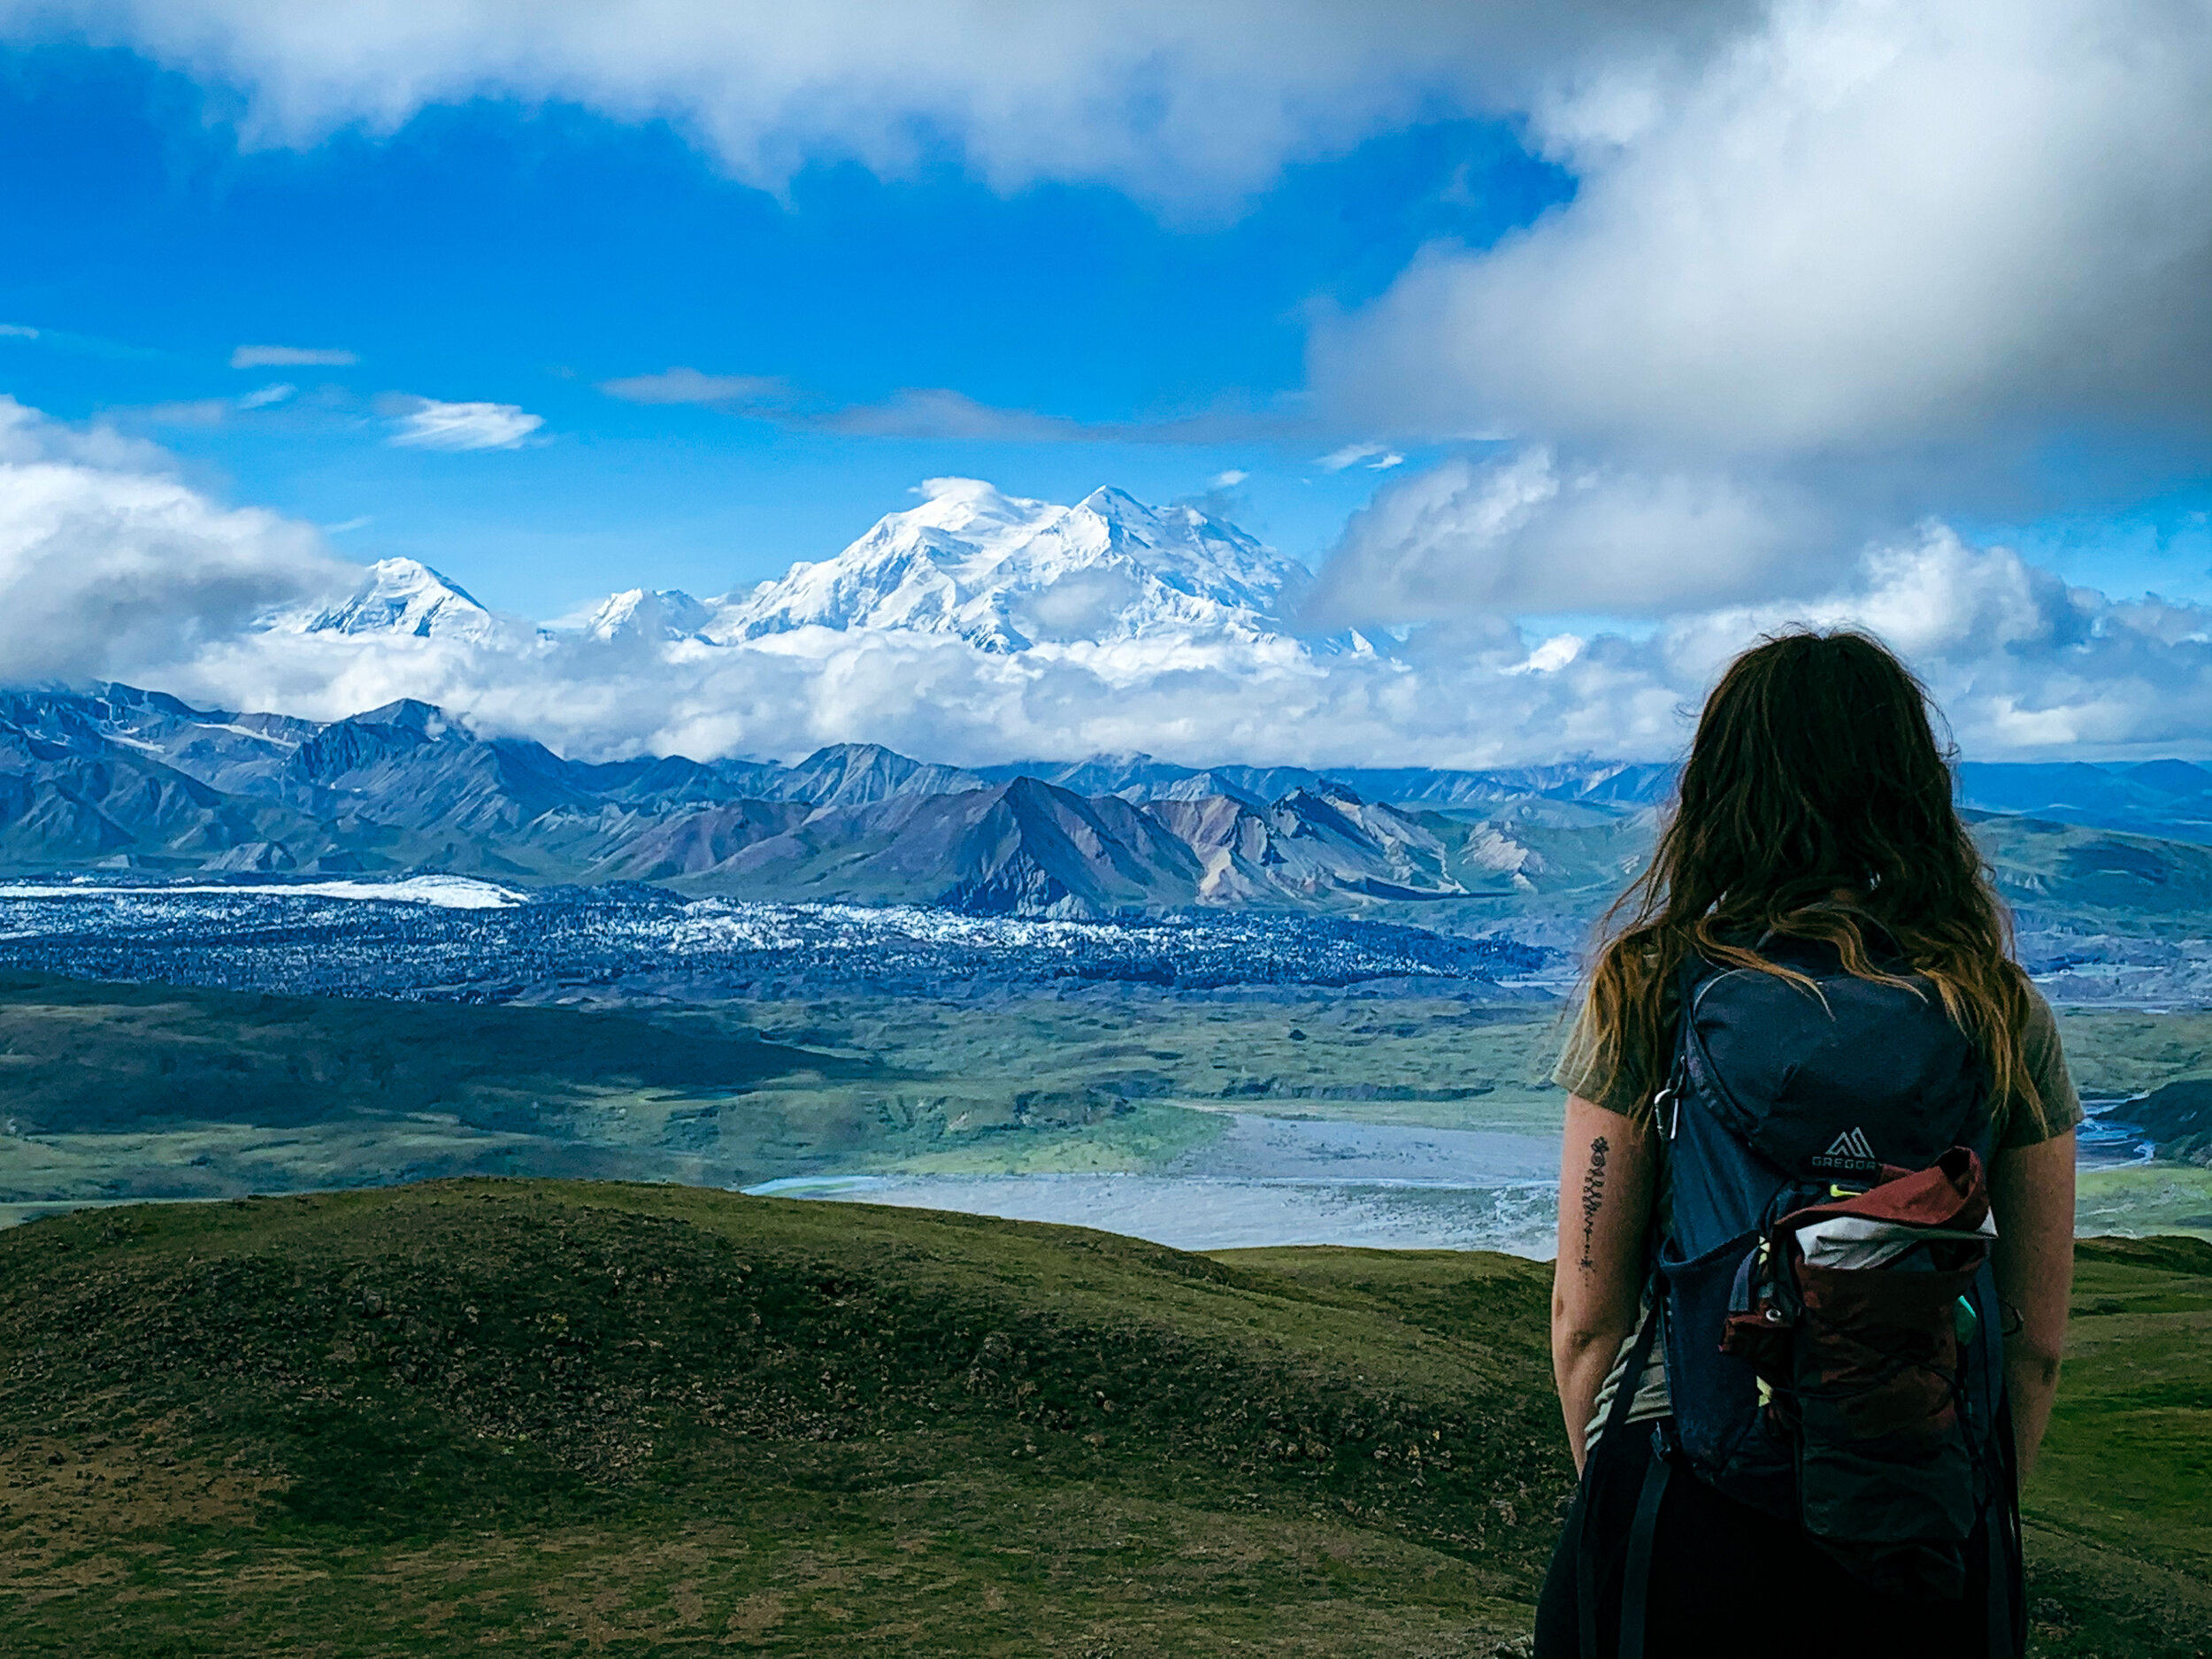
It was in a book I read recently called Down River by Heather Hansman where I came across the quote, “We save what we love and we love what we know,” and as a person who grew up immersed in the outdoors, this couldn’t be more true. Being raised in Southern California in the Santa Monica Mountains and at places like Vasquez Rocks taught me to have a close and intimate relationship with nature and the world around me. I learned a lot about plants, animals, and rocks firsthand, and as I grew up, I wanted to do what I could to protect these things that had made an impact on me as a child.

Unfortunately, the opposite can also be true. For many people, there is a huge disconnect between their life in the city and the nature that surrounds them. They don’t know the mountains, and therefore, it’s harder for them to care about saving them.

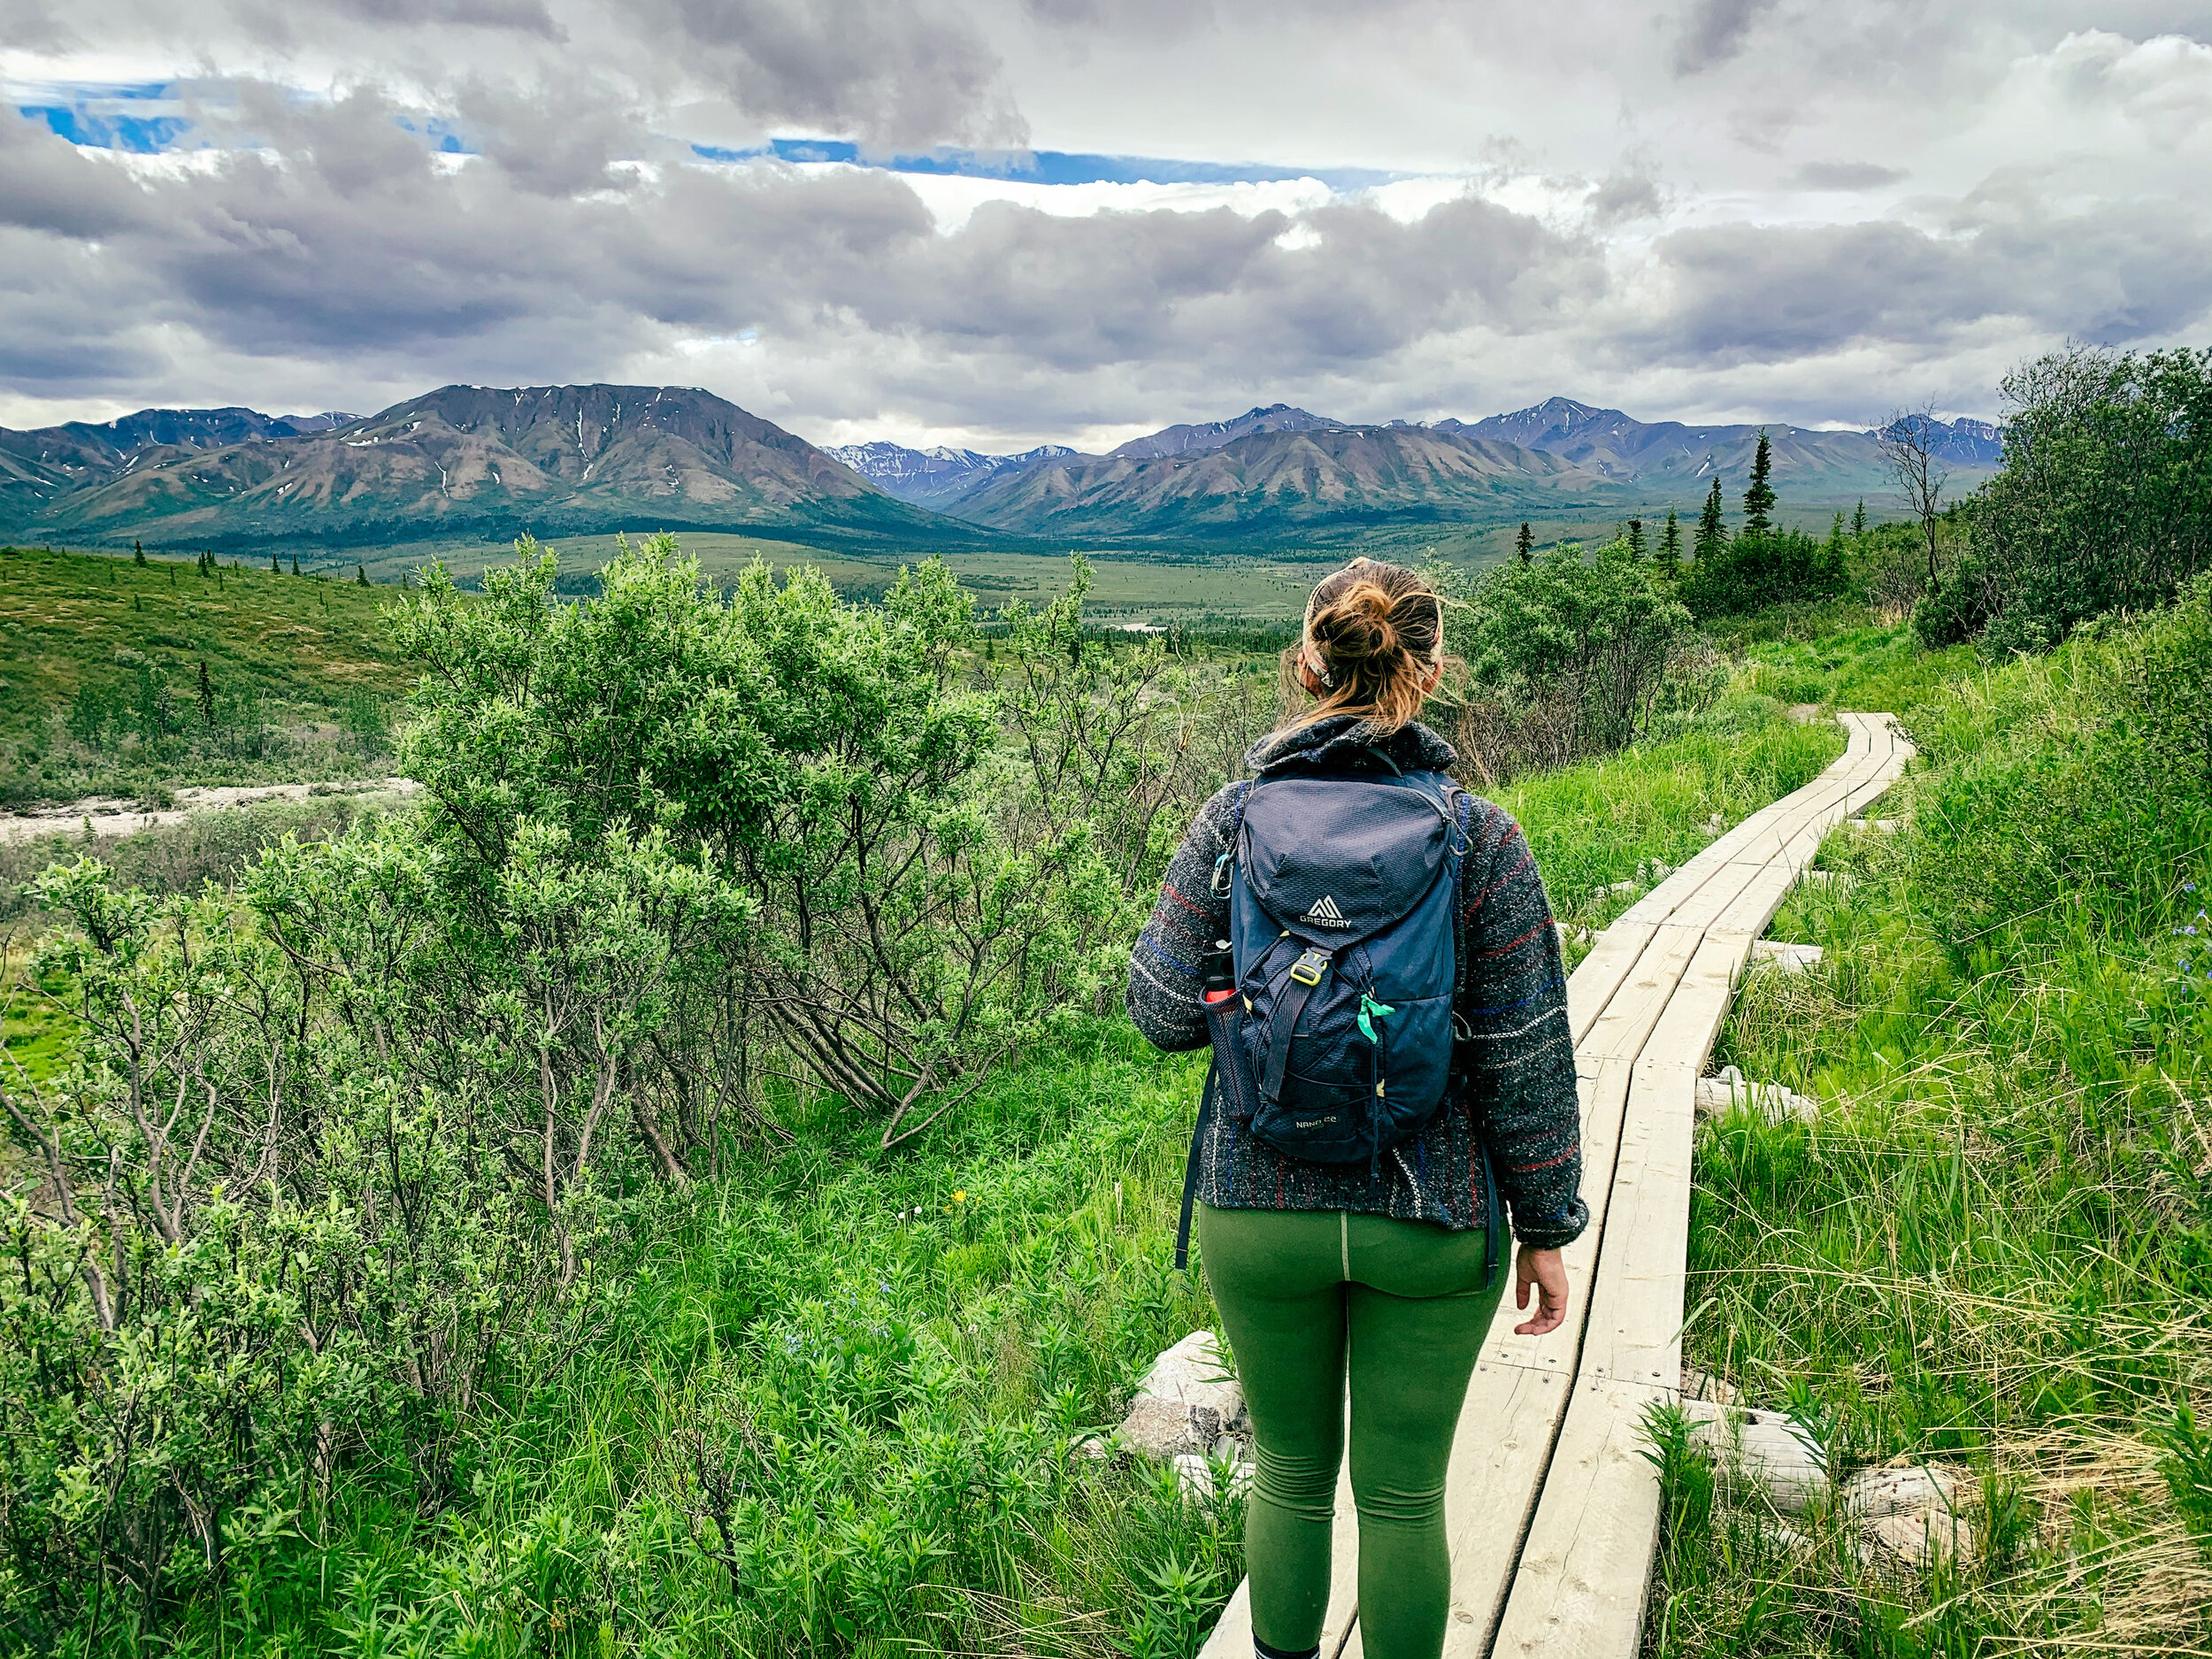
It may seem counterintuitive at first, but the truth is, the more time people spend outdoors, the more of a connection people will have with the land, the more they’ll care about keeping it wild, and the more they’ll notice how things like going off trail or leaving toilet paper tucked under a bush can negatively impact wild spaces. When people have a greater connection to the land, they’ll be able to use their voice to continue to teach about how we can do better, and start this beautiful spider web of knowledge about how individual impact CAN affect our public lands, as well as how individual impact can help reduce those negative effects.

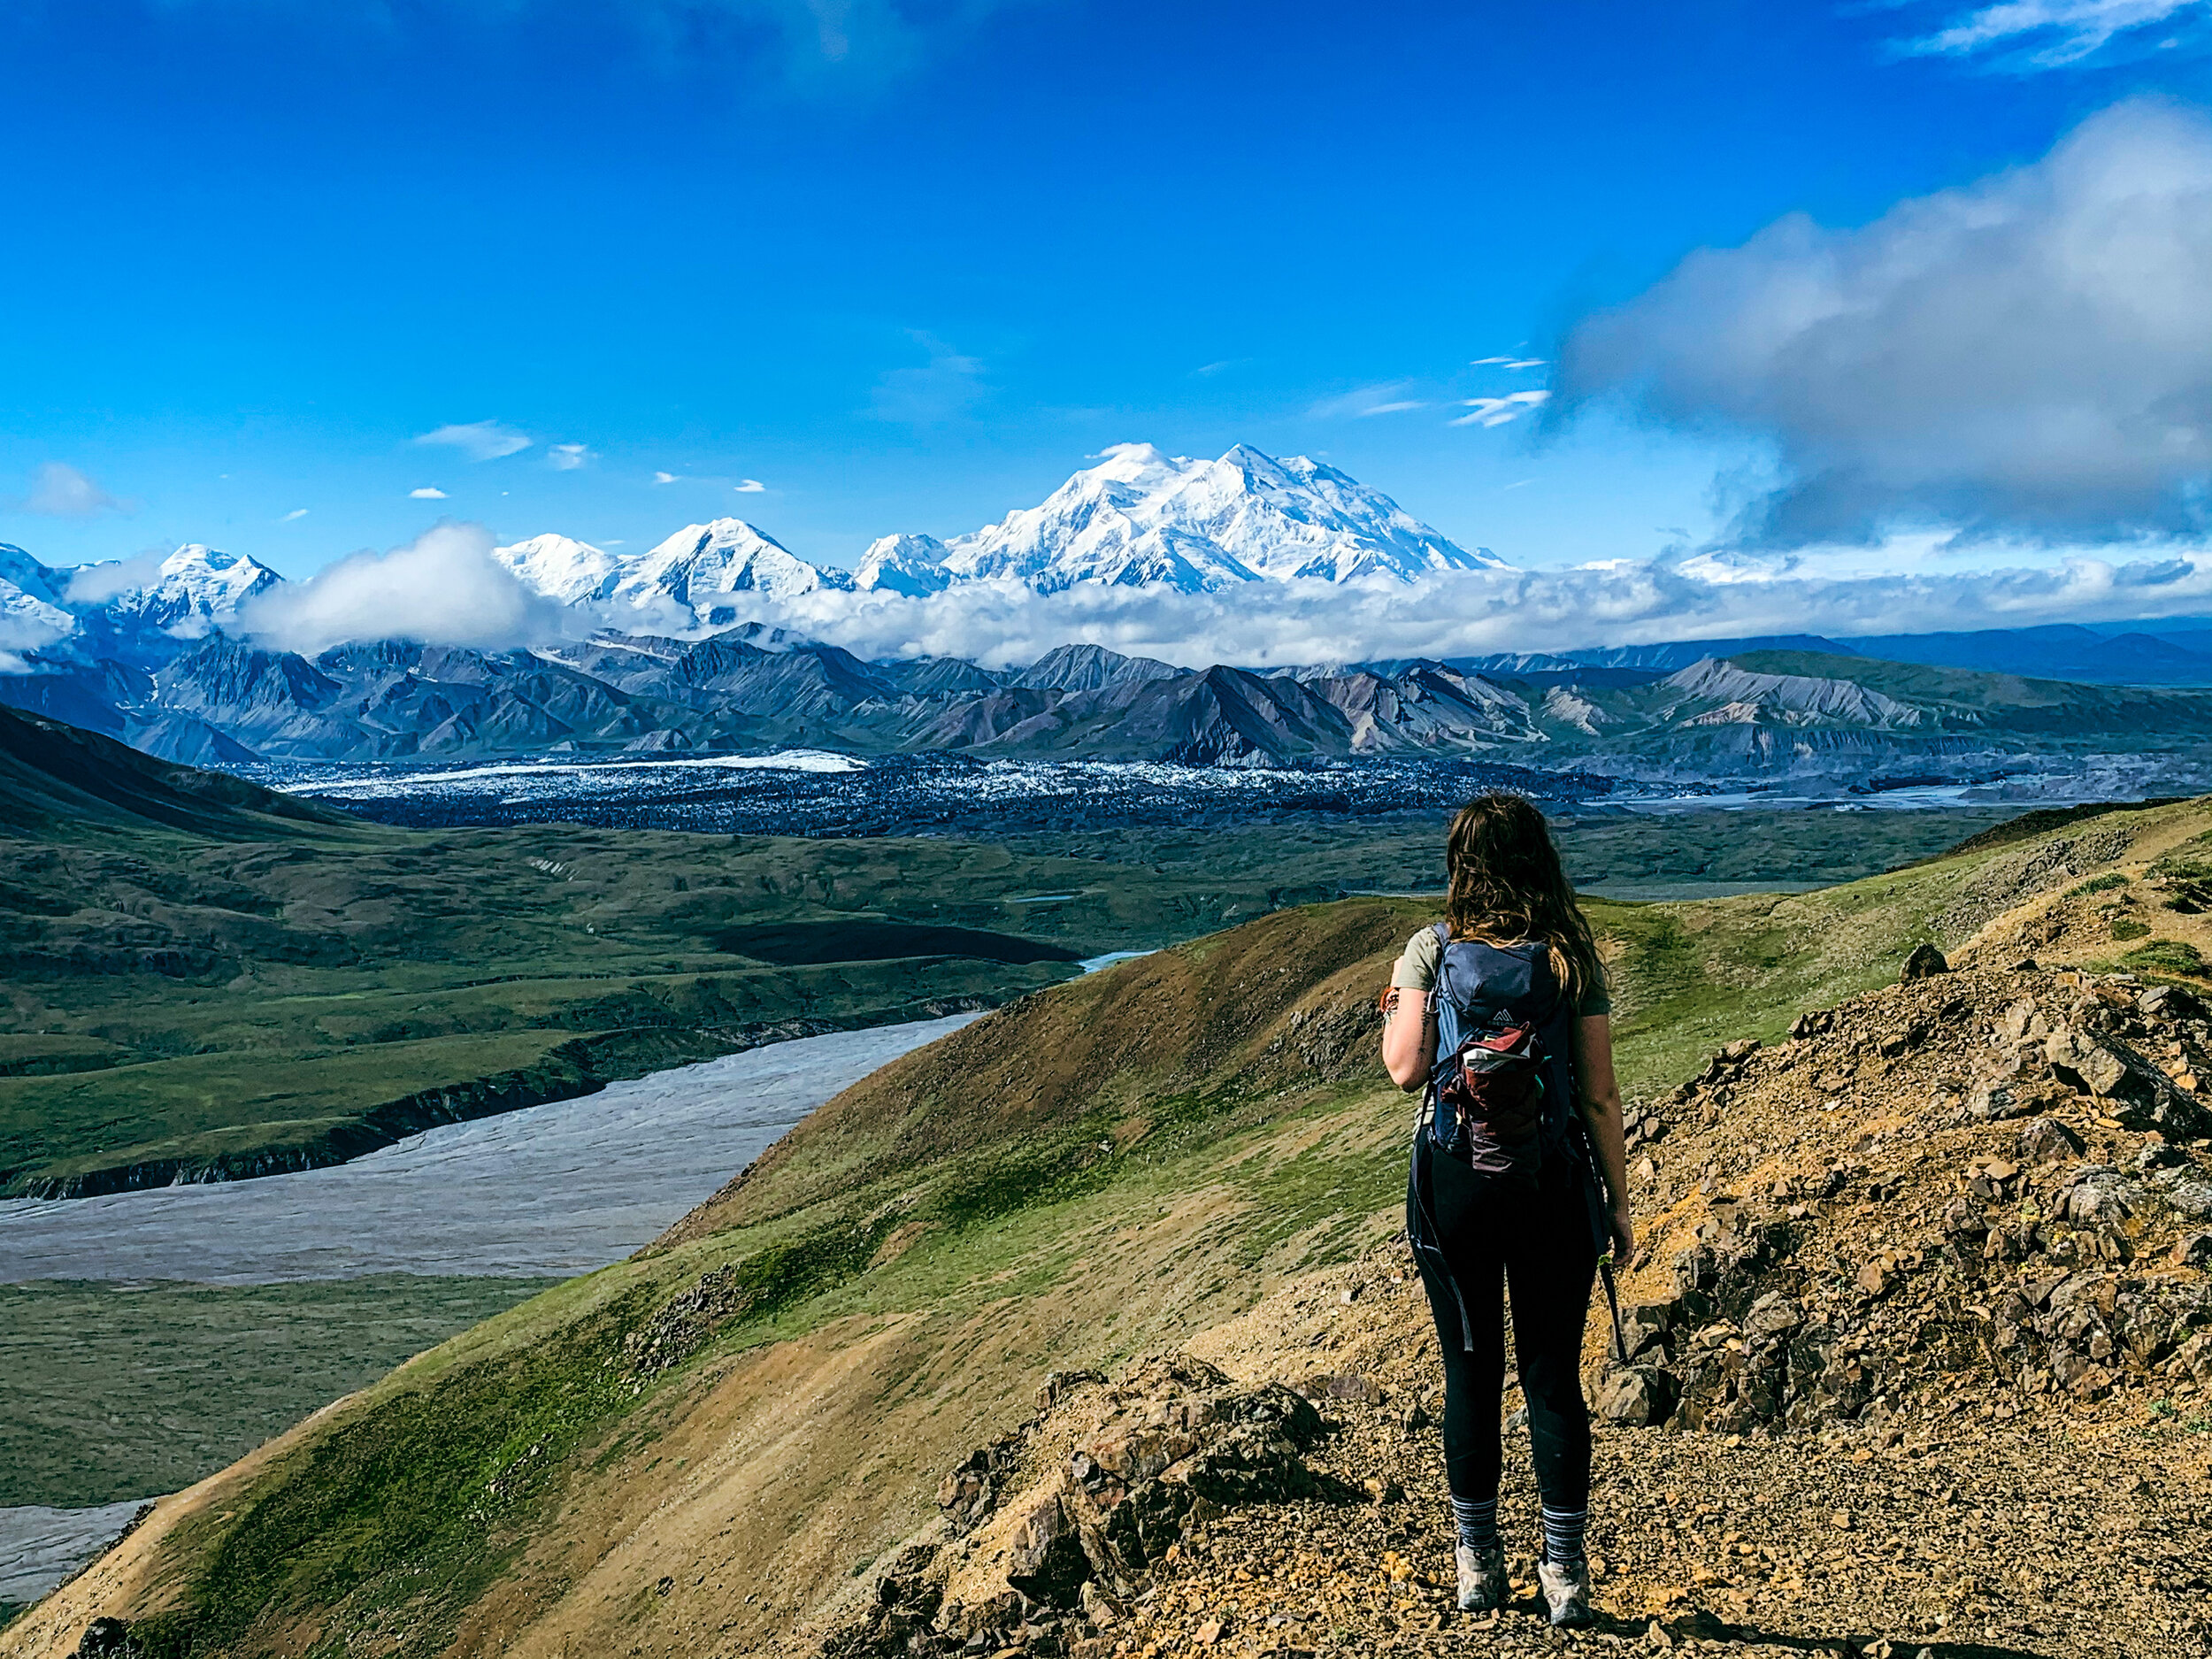
Trek. save mountains.

Saving our wild spaces starts with helping more people to feel empowered to have a voice in the matter, and more people are going to want to use their voices if they have better access, not only to outdoor education, but also to save outdoor experiences where they can connect with the spaces around them.

Right now, Trek. Save Mountains is a movement. It’s a conversation. But eventually, I want to expand this movement into something larger where I can directly provide that education and experience to people. Please follow along if you want to watch me turn this from a travel blog to something much bigger—an expansion of access to the outdoors in a safe and educational environment so that more people from more backgrounds can use their unique and powerful voices to save our wild spaces.

Top 5 Things to Do in New River Gorge

Are you looking for the ultimate adventure opportunity in the Appalachian Mountains in one of the most underrated destinations in the country? Welcome to New River Gorge National Park and Preserve, the newest National Park in the United States, and home to one of the oldest rivers in the world (despite its misleading name).

New River Gorge is located in wild and wonderful West Virginia, and is home to some of the most unexpected landscapes on the eastern side of the country. When you picture West Virginia, you might not picture rushing class five rapids, towering sandstone cliffs, and a multitude of waterfalls and wildlife, but you’ll find all of that and more in New River Gorge National Park.

I had the privilege of working as an Assistant Climbing Guide in the park during the summer of 2022, which means I got to spend all of my free time climbing, exploring, and enjoying unexpectedly wild West Virginia. Here are the top 5 things you should make sure you do during your trip to New River Gorge.

Know Before You Go

There are a couple things you should know ahead of your visit to New River Gorge National Park and Preserve. This is all my advice for navigating this park for the first time.

The weather in New River Gorge is unpredictable. Always assume it’s going to rain even if the weather isn’t calling for it. This is considered a rainforest, and showers can come quickly and come down hard. That being said though, summer is absolutely the wet season when it comes to rain. If you’re a rock climber looking for the driest time of the year to visit, we call Fall “send season” for a reason.

Dogs are allowed pretty much everywhere in New River Gorge as long as they’re kept on a leash. Feel free to bring well behaved dogs with you on trails, to the crag, or to picnic areas, and always make sure you have an extra poop bag on you so we can keep our wild spaces wild.

New River Gorge is not your classic National Park where you’ll enter through an entrance station and be within the park the rest of your time. New River Gorge is a park that’s interspersed with neighborhoods, Highway 19, and the adorable town of Fayetteville. The official National Park boundaries are the quarter mile of space surrounding the New River itself. Everything else is still considered “The Gorge” though, and is just as worth checking out while you’re there.

Go Whitewater Rafting

Since New River Gorge National Park is known for the New River, you can’t skip out on going whitewater rafting during your time here. You’ll want to book a trip with one of the local outfitters and the most popular company to raft with is Ace Adventure Resort, although you can’t go wrong with any company that’s going to get you safely on the water.

If you’re traveling with children, you’ll want to keep in mind that there are some age restrictions on the river. If you have young children, you’ll probably want to look into rafting the Upper New River, which only goes up to Class III rapids. Teenagers love the Lower New River, which goes up to Class V. Some companies even offer all day trips that will include time to swim in the river, lunch, and an overall longer adventure.

If you’re visiting in the fall and have a party of people over 16 years old, you might consider the biggest adventure available in the New River Gorge area: rafting the Gauley River. This rafting trip includes some of the most intense Class V rapids in the country (possibly even the world). While this river isn’t within New River Gorge National Park boundaries, it is part of the Gauley River National Recreation Area, also managed by the NPS. The Lower Gauley is slightly less intense if you’re not sure about embarking on the ultimate Upper Gauley adventure.

Rafting on the Lower New just before Fayette Station

Go Hiking

There are lots of hiking trails available in New River Gorge National Park and they all lead to somewhere beautiful. You can pick up a trail guide in the visitor center, but these are some of the most popular trails for finding the best views in the park.

(trail classifications and ratings are my own, based on the available terrain in the area)

Endless Wall Trail

Endless Wall is easily the most famous view in the park. Here, you’ll eventually reach Diamond Point Overlook, where you’ll gain views of some of the rapids and rafters below. This trail is dog friendly, and there are two parking lots. I recommend parking at the first one you’ll pass as you come from Highway 19. You’ll have the opportunity to make the trail a loop by hiking parking lot to parking lot, and if you park at the first lot, the section of this loop that will have to be along the road will be downhill rather than up (unless that’s your thing!).

Endless Wall is about 3 miles round trip, and I would classify this hike as easy.

Long Point Trail

Long Point is the other trail where you’ll gain some million dollar views of the park. Here, you’ll gain views of the famous New River Gorge Bridge and this is one of the best places to catch the sunset in the park. The trail starts off fairly flat and then starts to gain some elevation and rocks on the path toward the viewpoint.

Long point is about three miles round trip, and I would classify it as moderate.

Glade Creek to Kates Falls

Glade Creek is easily my favorite trail in the park, but it doesn’t lead to some incredible viewpoint. Instead, you’ll hike deep into the forest, along the rushing Glade Creek, to the stunning Kates Falls. This trail is fairly flat but long, so be prepared for at least a half day on trail with no cell signal. I recommend parking at the Lower Glade Creek Trailhead as the Upper Trailhead lot is 4x4 access only. Hiking to the falls from the Lower Glade Creek lot is about 9.2 miles one way, and I would classify this trail as difficult. Make sure you keep an eye out for the sign to Kates Falls on the left once you’re about a mile and a half from the bridge, and prepare for flooded trails and creek crossings—trekking sandals would be a great choice for this trail!

Kates Falls

Paddleboard on Summersville Lake

One of the most beautiful places in New River Gorge National Park is Summersville Lake, which is located about a thirty minute drive from Fayetteville. Here, you’ll find hidden waterfalls, climbers deep water soloing, and one of the best sunsets in the park (from the water of course).

Rent a paddleboard or kayak or bring your own to explore this huge and warm lake in the summers, just make sure that you bring a personal floatation device (PFD) for every passenger on your board or boat.

Be aware that some years, in the fall, the lake does get drained, so make sure you check the park website for updates.

The view from Diamond Point on the Endless Wall Trail

Go Rock Climbing

Other than whitewater rafting, climbing is the most popular sport to do in the New. Rock climbers from all over the world travel here, and many end up staying, because of the beautiful Nuttal Sandstone walls, incredible trad routes, and fun sport climbs. There’s even a good assortment of boulders for anyone who’s not stoked on rope climbing.

If you’ve never climbed before, there are outfitters who can take you on your first climbing trip—gear included! I personally worked for Ace Adventure Resort, but other climbing outfitters include Adventures on the Gorge and Appalachian Mountain Guides.

Another great resource for climbing (other than Mountain Project and the local guide book), is the local climbing shop: Waterstone Outdoors. Every employee here is super knowledgeable and wants to help you get on the rock as soon and as safely as possible.

Hal Homel lead climbing in New River Gorge National Park

Explore Fayetteville

There’s a reason Fayetteville is known as the “Coolest Small Town.” Downtown Fayetteville, West Virginia is super cute and has a lot to check out. Other than Waterstone Outdoors, our local climbing shop, there’s a huge assortment of places to visit like the Hobbit Hole, which is the antiques shop, the Great Googly Moogly, which is the local crystal shop, and restaurants like Cathedral Cafe and The Takeout.

Overall, there is so much to see and do in New River Gorge National Park and its surrounding areas, so make the most of it, get out of your comfort zone, and try something NEW.

Your Guide to Visiting National Parks Solo

National Parks are some of the country’s most accessible and abundant nature focused destinations, but for a lot of solo travelers, they’re often intimidating. National Parks seem to be full of unknowns, opportunities to get lost, and no cell service… oh my. But, for many, like myself, National Parks are places of refuge. Personally, National Parks are some of the easiest places to visit as a solo traveler, once you know how to do it.

So, who am I, and why should you listen to my advice about this? My name is Halle, and I’ve been to 51 National Parks, most of them solo, and some more than once. I’ve been solo traveling since March 2019 and traveling full time since June 2019. One of my friends on TikTok even refers to me as the National Park Queen (since I’ve been to so many), this is genuinely my area of expertise.

These are all my tips for navigating and visiting your first National Park… as a solo traveler.

New River Gorge National Park

Go to the Visitor Center

When I first arrive at any National Park, I always make sure to do two things that are going to help my trip tremendously: get a park map, and go to the visitor center to ask a seemingly ridiculous amount of questions.

At most big parks, you’ll be offered a park map when you go through the entrance station, but at smaller parks that may not have an entrance station, you’ll want to grab one of these at the visitor center as well.

Then, I ask all my questions. These include:

I’m only here for one (or two or three) day(s), what should I absolutely make sure I see and do?

How do I get there if I lose cell service?

Where can I walk my dog? (many National Parks do not allow pets on trails)

Where can I refill water?

Where can I camp? / Is the campground full yet?

These questions will help you get your bearings and might lead to other things you need to know as well. Rangers are experts on their park, so don’t be afraid to ask them anything so that you have all the resources you need to have a safe and fulfilling trip.

Indiana Dunes National Park

Know The Basics Ahead of Time

I always visit the National Park Service website before my trip even starts so I have some basic information prior to arriving. The things I’m looking for when I visit the website include the absolute basics and then any information that might affect my plans in the park. It’s important to know these things ahead of time so that you aren’t caught off guard without cell service.

Basic information I want to know is:

-Admission fees and tour fees

-Where my pet can go

-Visitor Center hours

-Expected weather while I’m there

When it comes to information that may affect my plans, I’m usually looking for closures and timed entry regulations. I want to know if there are any roads closed for construction or weather, if there are any trails closed for various reasons that I might have been trying to hike, if there are climbing restrictions, seasonal restrictions due to weather or animal protection, and if admission to the park requires timed entry (like Yosemite and Rocky Mountain). This is also a great time to check if the hike you want to do requires permits (here are my tips for the Angel’s Landing permit system in Zion!) and if there are any environmental concerns you should be aware of (like harmful algal blooms in Zion’s water, which could be toxic if you or your dog drinks from the river).

Kenai Fjords National Park

Take a Hike!

Hiking is one of the best ways to explore a park and it’s a sport you can definitely do solo! Ask a ranger what hikes would be best for your skill level and go explore. Be honest about your hiking experience though, and don’t be afraid to pick up a trail map or only do a shorter trail if you’re new to hiking alone.

New River Gorge National Park

Make Friends

I love meeting people in the places I visit. Making friends is easy when you stay in campgrounds, and oftentimes you’ll be able to connect with someone who might be down to go on an adventure with you. Making friends on your solo travels is part of what makes solo traveling so fun and memorable. So don’t be afraid to go say hi, as long as you feel safe doing so!

Badlands National Park

Stay in Touch with an Emergency Contact

When solo traveling, especially in a place that may not have cell service in it like many National Parks, it’s important to choose an emergency contact to stay in touch with, in case anything happens to you. I often recommend sharing your location with a friend or family member, but also letting them know your plans. Text someone the name of the trail you plan on hiking before you leave cell service, as well as when you expect to return to cell service. Leave them instructions on what they should do if they don’t hear from you in that window of time, so that if you get hurt, they can call for help.

I also do recommend getting certified in Wilderness First Aid if you have the means to. I personally am a Wilderness First Responder and this makes me feel a lot safer and more prepared for longer and more remote trips.

Wind Cave National Park

Get Out of Your Comfort Zone

You’ll see it everywhere on my website: GET OUT OF YOUR COMFORT ZONE!

Do something that scares you just a tiny bit. Whether that’s taking the cave tour, going and making friends, swimming in the alpine lake you hiked to, or simply taking the trip at all, get out of your comfort zone. It’s going to lead to some incredible memories.

Navigating Zion’s New Angel’s Landing Permit System

Zion National Park is one of the most popular National Parks in the National Park System, and Angel’s Landing is one of the most popular trails in the park. Starting on April 1, 2022, hikers are going to be required to have a permit to hike Angel’s Landing, which is an attempt to help increase safety on the trail, as well as promote further conservation efforts of this landscape.

Zion National Park

Angel’s Landing is a hike that requires technical skill to complete, but because of its popularity, many people end up getting injured or worse while attempting this hike. The hike starts off with 27 steep switchbacks for a mile, and then turns into a portion of the trail where you need to use chains that are installed on the sides of the trail so that you can ascend the rest of the way. The chains are there to help you pull yourself up the rock, but also to prevent falling because there are steep drop offs on one and sometimes both sides of the trail. The trail does get extremely congested, and requires groups to take turns ascending and descending the trail as they hike. The entire hike is about 5 miles long, and gains about 1,500 feet in elevation on the ascent.

Understanding the new permit system

This is going to be the first year that Angel’s Landing has a permit requirement for hiking. For this year at least, the National Park Service (NPS) is only going to issue permits via a lottery system, similar to Yosemite’s Half Dome permit system.

Angel's Landing Zion

At the top of Angel’s Landing, surrounded by the usual crowds

You can apply in advance for permits by choosing a few dates you would like to hike Angel’s Landing. You can apply for advance permits via recreation.gov or choose to enter the daily lottery instead.

The Day-before Lottery is similar to the advance lottery, but will only be an application for people trying to do the hike the day after they apply. You have to apply the day before you want to hike, between noon and 3pm Mountain Standard Time.

No matter which lottery you choose to enter to try and score a permit, it does cost $6 to apply for a permit. The good news is, that money goes back to the NPS to keep places like this going!

Angel's Landing hike Zion National Park

Getting on the trail

In the busy season, you will need to take a free shuttle to the Grotto, which is where your trailhead will be. A ranger might check your permit here before you start the trail, or they might check for permits at Scouts Lookout, at the top of the switchbacks.

You can still hike to Scouts Lookout without a permit.

It’s recommended that you have proper gear for this hike. As someone who has summited Angel’s Landing twice, I recommend hiking boots, a backpack (so you can keep your hands free), and a water bladder that holds at least 2 liters of water. In the summers, you’re going to want to carry about 2 liters per person for this hike.

Now, you’re ready to hit the trail! Make sure that you leave no trace, be safe, and have fun!

Learn more at NPS.gov

Why Solo Travel is Essential to Any Healing Journey

When I first started traveling solo in the summer of 2019, I knew I was on the search for something. I didn’t quite know what I’d find, but I knew it wasn’t anything I currently had. What I was looking for, was me. I didn’t quite know it yet because I hadn’t done the digging or the shadow work to identify what was missing, but I knew I was on my way to whatever it was.

Solo travel quickly became an essential part of my own healing journey, and while I took a break from it to travel with someone I loved deeply, I’ve recently found myself at the precipice again: about to step out solo, on the search for something important, but this time, I know what it is.

Solo travel can be transformational. There truly is nothing like spending every waking hour of your days by yourself, outside of your comfort zone. It can bring you back to your very center, and leave you asking yourself, “Why did I do this in the first place?” But the thing is, no matter how hard solo travel is, it can also be incredibly eye opening. So, let’s dive into why solo travel is so essential to your healing journey, and how you can discover yourself on the road.

IMG_8255.jpeg

Solo Travel Forces You to Dig Deep

Let’s just jump right in. Solo travel is intensely transformational for so many reasons, but one of the deepest of all is how much you can learn about yourself in a short amount of time. Travel in any way is meant to put you out of your comfort zone, which leads to a lot of problem solving, whether it’s trying to translate a foreign language in an area with no cell service, or trying to spontaneously find a place to sleep at night. Being alone in the world only adds to this, which forces you to be with yourself during these tough situations. Any triggers that come up as you navigate these problems can highlight healing that you need to address either on your trip, or when you return home.

For example:

“Why does it make me so uncomfortable to stray from my planned itinerary?”

“Can I trust that everything will work out?”

“In what ways can I learn to go with the flow more?”

Solo travel is fantastic at putting you in a place where you can readily receive these questions, and then spend enough time with yourself to find the answer.

Arches1.JPG

Solo Travel Allows for Reinvention

When I was a kid, I always wished that I could start over and completely “reinvent myself.” Really, what I wanted was to end up in a situation where no one knew the old me, which would mean that I could finally be my authentic self safely. Solo travel is the perfect opportunity for you to try on who you really are. So many people travel solo for the purpose of moving past some sort of trauma, be it a breakup, the passing of someone close to them, or a major life change. As you try to find your happiness again, use this as an opportunity to embody the person you truly are. After all, odds are, you’ll never see most of the people you meet while traveling again anyway.

Questions to ask:

“Who am I when I’m home alone? How can I be that person all the time?”

“What is something I’ve always wanted to try?”

BaKaoLam4.jpg

Solo Travel Gets You Out of Your Comfort Zone

I’ve mentioned this a few times already, but traveling solo is the ultimate way to get out of your comfort zone. Your comfort zone keeps you safe. I see it similarly, or attached to, the spiritual ego. It is designed to keep you out of “danger,” but it can also stifle your growth. Growth itself can be uncomfortable, and solo travel pushes you out of your comfort zone in such a way that it forces growth. Things will not always go as planned, and you can either stay in the mentality of controlling your environment (comfort zone), or embrace change, and learn to go with the flow in the most beautiful way.

Things to ponder:

“How can I react differently to this situation?”

“In what ways can I embrace the unknown today?”

Solo Travel Shows You Just How Powerful You Are

A lot of times, when people set out on their healing journey, it’s caused by a feeling of needing to overcome something. Traveling solo forces you to problem solve, it makes it so that you have to be there for yourself when things aren’t quite going your way, and because of that, along your journey, you’ll surely learn exactly how capable and powerful you are. There’s nothing like finishing a really hard hike alone, or figuring out a problem on the road by yourself, or finishing a 3 month road trip that you did solo (believe me, I’d know). Whether you’re accomplishing climbing a mountain, or convincing yourself to go try that new restaurant alone, there is an absolute sense of pride that comes with solo travel and exploration. And, if anything, it’s good to simply be proud of yourself for getting out there any trying, because that is powerful in and of itself.

Ask yourself:

“What did I accomplish that I’m proud of today?”

“How can I overcome this challenge on my own?”

“What would I require from another person if I wasn’t alone in this situation? How can I give that to myself instead?”

Solo travel can push us out of our comfort zones, teach us about our very souls, and show us how extremely powerful we are. It has been a crucial step in so many people’s healing journeys for a reason, so consider making it part of yours. Just be sure to be safe, use your intuition, and have fun. And, remember, it’s okay to ask for help if you need it.

I am going to be offering channeled guidance sessions and card readings on my new section of the site soon: Sunbird Soul, named after my 1985 VW Vanagon that I call Sunbird! If you’re looking for some guidance on your journey, consider signing up for my email list so you know when that goes live!

Looking for tips on how to stay safe traveling solo? Check out this safety post I wrote for all my solo travel tips!

Your Guide to Denali National park

For National Park enthusiasts, Denali is one to check off the bucket list. I recently spent 4 months in the Alaskan Interior, and visited Denali 4 times. Between understanding the park road, wildlife viewing, and the best times to see The Mountain, this is your guide to everything you need to know to visit Denali National Park.

Why Visit Denali?

Denali is known as Alaska’s Yellowstone. It is a vast, incredible, open landscape that is mostly closed to vehicular traffic, making it one of the most pristine wildernesses you can drive to. Because of its untouched wild, it makes for an incredible space for healing, meditation, and being with oneself if you are on a pilgrimage pack to yourself. If you’re simply looking for an incredible place to experience the beauty of Alaska’s nature, there is no shortage of that, either. Denali is home to endless wildlife, the tallest mountain in the US, and incredible backcountry experiences you can’t get anywhere else.

This post was written in 2021, so rules may have changed if visiting in future seasons. For the most part, these systems are the same year to year.

Horseshoe Lake Loop Trail

Horseshoe Lake Loop Trail

When is the best time to go?

There are only two distinct seasons of visitation in Alaska: Summer and Winter. Of course, there are their versions of spring and fall, deemed the Breakup and the Freeze-up, but most people don’t visit during those periods. Denali is open year round, but unless you’re prepared for sub-zero temperatures, and getting around via dogsled, you’ll want to visit in the summer. Summer season in Alaska lasts from around June 1 to September 15. Businesses usually open around May 15, but some roads are still snowy then.

When it comes to visiting Denali, be prepared to become part of the “70% club.” Only 30% of visitors actually see the Mountain, and your best chances are to go in late June or July, and enter the park as early as possible. You’ll want to hop on a bus to Eielson for your best chances of getting a picture like the one below!

Can I drive to Denali?

This is a complicated question because the short answer is, yes, you can drive to the park. Due to protections instated by the National Park Service, though, you can only drive up to Mile 15 of the Park Road. You’ll be able to get to the visitor center, a few established trails, the bus depot, and your furthest point: Savage River. There are very low chances of getting to actually see Mount Denali from this section of the road, so if you don’t have bus reservations, I suggest visiting the local State Park as well, to try to catch a view of it from the North or South Viewpoints.

The Savage Alpine Trail, one of the established trails accessible from the first 15 miles of the Park Road

The Savage Alpine Trail, one of the established trails accessible from the first 15 miles of the Park Road

How does the bus system work?

The bus system is the only way to explore the park past mile 15. You must have a reservation ahead of time, which you can make through Reserve Denali. There are three types of buses you can reserve: Camper Buses, Transit Buses, and Tour Buses. Exceptions to this include buses going to Kantishna Lodge, and standby tickets only available for campers spending 3 nights or more at Teklanika River Campground.

Camper Buses are only for backpackers and campers staying in one of the Park’s many established campgrounds. These buses can take you to a campground, or drop you off in one of the Park’s backpacking regions.

Transit buses can take you through the park, usually as far as the Eielson Visitor Center. In past years, they were able to take you to Wonder Lake, but as of 2021, Wonder lake was only for campers. Transit buses are not required to give you park information, but are a great way to get to see wildlife, and drive through the park.

Tour buses have to give park information as they drive you through the park, but generally stop before Eielson. So if you want to get all the way to the visitor center, I’d suggest booking a Transit bus.

Due to landslides at Polychrome, the park road became inaccessible at the end of the 2021 season until the park finishes construction on this part of the road. The landslides were caused by melting permafrost. Please contact Reserve Denali to check road conditions before booking your bus ticket.

IMG-9439.JPG

What are the best hiking trails?

Denali is mostly a free-hike park, meaning you can go anywhere you want in approved areas, without an established trail. If you choose to do this, make sure you’re confident in your navigation skills, and carry a topographical map of the area you’re going to be hiking.

Always carry bear spray when hiking in Alaska.

The established trails that do exist in Denali are generally short, and many of them are located before Savage River on the park road. In this area, the Savage River and Savage Alpine trails are popular, and the Roadside Trail is the only official dog friendly trail in the park. For a trail close to the park entrance, check out the Horseshoe Lake Trail.

Some of my favorites though, are in the Eielson area, including Thoroughfare Ridge Trail, pictured above.

Looking for more information or local conditions? Check the National Park Service Website!

How a Seasonal Job in Alaska Changed My Life

In April 2021, I sat with a boy I loved in a Sprinter van we’d built out ourselves, on a side street in Loreto, Mexico, outside a taco stand we grew to love. We were waiting for our laundry, and because we had cell service in town, I prompted him to look for jobs in Alaska, because he was feeling like he needed to work again, and we’d been trying to make it to Alaska since we met. After a long two minutes looking for jobs, he showed me a listing looking for “an outgoing couple to run a hostel in Fairbanks.” I sent the owner an email, and we heard back almost immediately that he wanted to schedule a phone interview. We called in from Baja the next day, and of course, got the job.

A few days later, we turned our wheels north, heading from Todos Santos, Mexico, to Fairbanks, Alaska on a road trip that took us only a month to complete. The trip was expedited by a faulty catalytic converter that we had to replace in San Diego, and the fact that Canada gave us only 3 full days to drive through their country due to the pandemic.

Craters of the Moon National Monument, ID on our way to the Canadian Border

Craters of the Moon National Monument, ID on our way to the Canadian Border

Once we hit Alaska, we started our seasonal job in Fairbanks, a hostel job that actually paid, and gave us 2 days off a week so we could explore. I’ve been on the road over 2 years at this point, so committing to 5 months of stagnancy was already hard enough. Those 2 days a week were what kept me motivated to actually do this job, to sit with myself in one place for a second, and learn what lessons stagnancy had to teach me—what lessons Alaska herself had to teach me. I knew, as soon as we’d turned north, that when I left Alaska, I’d be in a new stage in my life, I just didn’t know what that would look like.

On June 1, we were on our way to Denali State Park, to hike a trail I was really excited to do now that I’d fully recovered from my infamous 2020 knee injury. I’ve been on my intuitive path for a while, so of course, I knew something was wrong with the van before our transmission went out. I’d just opened my mouth to tell Jared that we needed to take the van to the mechanic when we got back to Fairbanks when we lost all power, and ended up stranded on the side of the Parks Highway for 5 hours before a tow truck came to take us back to Fairbanks.

Making the most of staying put at the Georgeson Botanical Gardens in Fairbanks

Making the most of staying put at the Georgeson Botanical Gardens in Fairbanks

What we were originally told was a $400 battery replacement and repair, quickly turned into an $8000 transmission rebuild, just a month and a half after we’d already spent $3000 on the Catalytic Converter replacement. The money hurt, but not as much as the time. Due to mechanics being few and far between in Alaska, it took about a month to get our van back, which sent my nomadic self into a depressive episode that made me wish I’d just stayed home and not bothered taking this job in the first place. As we discussed our options during that month, Jared expressed that he didn’t want to be responsible for a van anymore. This meant I was left with two options: buy his half of the van from him, or sell the van.

IMG-9630.JPG

After an evening of trying to decide which option would be best, I eventually landed on selling the van as the best financial decision that would potentially allow me to make the space to direct my business toward making me financially free, rather than always having to work for other people. It broke my heart when we eventually got the van back, and I drove it back to our hostel, knowing that my time with our little home was limited, but still wanting to experience all that I could with it. It was around this time that Jared decided he was going to be staying in Alaska, working seasonally in the winter, so it truly did make the best financial sense for me to be solo again, in a smaller rig.

Not too long after, during a trip to one of our favorite parts of Alaska, Jared announced that he didn’t see us as compatible with each other in the long term. This didn’t mean he didn’t love me, and I didn’t disagree with him. But breaking up was never what I wanted from our relationship. I truly thought we were in it for the long run, but plans change, and so what I thought would be a long distance relationship starting in the fall, quickly turned into me preparing myself to explore the world all alone again.

IMG-9640.JPG

This is what brings us to where we are today, with me on the road, now about 2,000 miles away from Fairbanks, traveling alone in the rig we built together. I am on my way back to California, where I will be selling the van, in exchange for a new one, so that I can keep traveling by myself. My world has completely changed, which is why I’m going to be taking this project, Halle’s Wandering Soul, in a different direction, angling toward talking about healing through travel, so that other people, especially women, can see that it’s possible to find oneself, through getting a little lost.

-HWS

How to Eat Vegan in Baja, Mexico

It’s no secret that eating a plant based diet in Mexico might be a challenge, but I didn’t realize that being vegan in Baja would be a whole other challenge. Baja California and Baja California Sur might have the appearance of being more touristy and trafficked than mainland Mexico, but the truth is, Baja is way more remote, making it harder for plant based travelers to find food.

I recently did a road trip through Baja and Baja Sur, hitting many of the major cities. I’ve been vegan for 3 and a half years, and Mexico was the first place I’ve traveled to in 2 years of full time travel, where I felt like it was genuinely difficult to be vegan. That being said, it definitely wasn’t impossible!

My main tip is to have access to some sort of cooking facility, especially in Baja Norte. The Northern state of Baja is considerably more remote once you leave areas like Tijuana and Ensenada and head south. I would suggest carrying a small camp stove if you’ll be camping, or staying in hostels, which almost always have a kitchen you can use.

Vegan Street Tacos in Loreto

Vegan Street Tacos in Loreto

The Basics

Trying to eat plant based in Mexico is hard, especially when you don’t speak a lot of Spanish. My go to was “Soy Vegana,” meaning “I am vegan,” when I ate out at vegetarian places, and at regular restaurants, say, “Sin carne, sin queso, sin heuvos, sin leche,” meaning “without meat, cheese, eggs, or milk.” The main risk you’re taking is that beans and even rice may have lard in them. You can ask by learning the word for lard, which is, “Manteca de cerdo.” I also found it helpful to know the words for beans, rice, and avocado, which are: frijoles, arroz, y aguacate.

Another amazing fact about being vegan in Baja is that corn tortillas are always vegan by default. Flour Tortillas usually have lard in them. Also, it’s worth it to ask about fabrics in souvenir shops, because some blankets and sweaters are made with wool instead of cotton.

Vegan Waffles in Loreto

Vegan Waffles in Loreto

Eating Vegan in Baja Norte

Baja Norte is the northern part of Baja California. Like I said, it’s a lot more remote than Baja Sur. The easiest way to be vegan in Baja Norte is to buy groceries along the way and cook for yourself. There are lots of opportunities to buy groceries along your route, but I’d suggest stocking up before going to places like Puertecitos, Bahia de Los Angeles, and through the coastal desert on the Pacific side.

We loved grocery stores like Calimax for getting local groceries, and even found plenty of organic produce. There are also fruterias, tortillarillas, and other local spots like a juice shop I happened upon in San Felipe, that were worth stopping at for local fresh produce and food.

CFE5FE8E-1802-4056-8DC3-035D6055DCAA.jpeg

Eating Vegan in Baja Sur

Baja Sur is a lot more fun when it comes to eating plant based. There is usually at least one vegetarian spot in town, or at least a restaurant with vegan options. These are my favorite spots to eat in each major town we stopped at in Baja Sur.

Guerro Negro

Guerro Negro is the first spot you’ll hit during your trip south when you cross the state line into Baja Sur. While this town isn’t a lot to write home about, it was the first city I visited in Mexico that had a vegetarian restaurant. It’s called Soy Salud, and it’s woman owned and operated, and she was so nice when I explained (via Google Translate) that I was vegan and happy to eat anything. $6 USD got me a three course meal, including rice and beans, soup, and a taco.

Muluge

Muluge is forever going to be one of my favorite towns in Mexico. It’s amazing for walking, souvenir shopping, and beach camping. There was also one restaurant in town called Los Epiquales, where I was able to get a huge vegan meal for only $8 USD. It included a salad, a bean taquito, rice, beans, a taco, and more! Simply tell them “soy vegana” and you’re good to go!

Amazing food spread from Los Epiquales in Muluge

Amazing food spread from Los Epiquales in Muluge

Loreto

Loreto is by far the most vegan friendly city I’ve visited in Baja, Mexico. It not only had the first all vegan spot we found, but it had lots of vegan options throughout the city. My favorite spot was Waicura. It had incredible Mexican food (I had the Chilequiles), and even American-style breakfast options like vegan waffles and French toast.

Loreto had tons of vegan options though, and we loved going to Snacks 22 and The Green Shack for small lunches while we walked around town. There was also an unnamed taco stand near the square that had vegan bairilla style tacos!

Chilequiles from Waicura in Loreto

Chilequiles from Waicura in Loreto

Todos Santos

Todos Santos was one of the most touristy cities we went to, and I thought they’d have better vegan options than they do. I was able to find an awesome smoothie bowl place called Pura Vida, which was a great way to fuel myself before heading to the beach!

Smoothie bowl made with local produce from Pura Vida in Todos Santos

Smoothie bowl made with local produce from Pura Vida in Todos Santos

While Baja isn’t the most vegan friendly travel destination, that doesn’t mean there aren’t options. I always say, it’s easy to be vegan anywhere as long as you’re willing to cook and do your research first!

Top 6 Must See Places in Baja, Mexico

Baja is a dream destination for many, and for those of us who love road tripping, it’s a place to cross off the road trip bucket list one day. There are so many beautiful places in Baja California and Baja California Sur, Mexico, from beautiful clear blue waters, to unique coastal towns, to wildlife hotspots. These are the best places to stop at during your trip to Baja and everything you should do while you’re there.

Puertecitos

While on its surface, Puertecitos is a fairly simple town in Baja Norte, it’s home to one of the most unique hot springs I’ve ever experienced. Right at sunrise and sunset is the only time you can visit because these hot springs depend on the tides of the Sea of Cortez. At low tide, you’ll be able to access these hot springs, but if you’re too late, they might be too hot! The trick is finding that sweet spot so you can soak in the beauty around you!

IMG-8065.JPG

Guerro Negro

Guerro Negro is the northernmost town in Baja Sur. While it doesn’t have a ton to offer in the town itself, it’s a place that holds 3 world records: the largest grey whale population, the largest osprey population, and the largest salt works in the world.

Guerro Negro is known for its whale tours, and salt tours, both running daily to teach about the unique history of this small Mexican town. We took a 4 hour whale tour with Malerrimo Eco Tours (in March) and ended up surrounded by thousands of whales! Before you book a tour, make sure that you pick one with little or no environmental strikes. Malerrimo’s had the least in the area, which is why we chose them, and it was a great experience!

IMG_8131.jpeg

Mulege

Mulege was the first town we visited that felt like the true Baja that everyone talks about. Between amazing architecture, adorable shops, a tropical campground, easy beach access, and a gorgeous Mission with a river view, Mulege was a place I easily could’ve stayed for a long time. If you’re only passing through, make sure you walk around town, and visit the Mission de Mulege so you can see the view of the town and the river from above.

719EE39E-5528-4E7D-B0ED-C96860F0BD9F.jpeg

Bahia de Concepcion

Bahia de Concepcion was easily my favorite place in all of Baja when it came to nature. This area is the large bay in between Mulege and Loreto, and you’ll pass it no matter what going both north and south. This is an area full of affordable campgrounds, kayak rentals, tropical views, and crystal clear blue waters. We spent our time here near Playa Escondido, but there are plenty of beautiful beaches to experience, and they’re all unique. The best things to do here are to get out on or in the water. Rent a kayak or paddle board, break out your snorkeling gear, or simply enjoy the serene blue calm of the Sea of Cortez.

IMG_8161_jpg.jpeg

Loreto

Of all the towns we visited, Loreto was my favorite. Aside from being the safest town in Baja, Loreto is adorable, super walkable, and right near the ocean. It was also the place with the best food on our whole trip. Loreto has options for everyone, whether you’re plant based or someone who likes to try a little bit of everything! We frequented the vegan restaurant, Waicura during our time in Loreto and enjoyed eating the local Mexican ingredients used in a unique, plant based way. Loreto is also an amazing spot to do boat tours to the nearby islands!

BC08FD28-AC30-4D62-88F1-29727E71F0EE.jpeg

Todos Santos

Todos Santos was our last stop on our trip south, and it was one of the best spots we stopped at. This is your hotspot for trendy restaurants, photo ops, souvenirs, and even sea turtle hatchings if you’re there at the right time. Todos Santos is also home to Hotel California, one of the most popular photo opportunities in the town. Make sure you check out the Bazaar, and explore the streets to look for unique street art!

B90E3173-8BDA-4170-A9B7-02EBDE8FD3ED.jpeg

Currently planning your Baja Road Trip? Click HERE to find out everything you need to cross the border!

How to Prepare for Your Baja Road Trip

So, you’re thinking about road tripping Baja California and Baja California Sur, Mexico? Even for the veteran road tripper, crossing the US-Mexican border requires a lot of extra steps. From documents, to passports, to ridding your vehicle of things that are illegal to have in Mexico, there’s a lot more to do before your Baja Road Trip than any road trip within the Lower 48. This is everything we did before our road trip through Baja.

D7E7E031-4BC4-4446-BFAD-B8DE70AD122D.jpeg

Necessary Documents:

The first thing you absolutely need to have for any safe and secure Baja road trip, is a valid passport. Many people will tell you that you can visit Baja without a passport, but don’t risk it, and make sure your passport doesn’t expire within 6 months of you crossing the border into Mexico, or it isn’t considered valid.

The next thing you’ll absolutely need to drive your US vehicle in Mexico is Mexican car insurance. There are plenty of different companies to buy this through, so figure out which has the best plan for you based on how long you think you’ll want to spend in Mexico.

A vehicle import permit is not required for Baja, however, if you plan on ferrying to the mainland at any point during your trip, you will need to pay this at the border. This is basically a promise to the US that your vehicle will be returned to your home country at the end of your trip.

719EE39E-5528-4E7D-B0ED-C96860F0BD9F.jpeg

Many people will also argue about the importance of having an FMM tourist visa as well, but just like the passport, don’t risk it. You can purchase this either online (but make sure you print your receipt), or at the border. We chose to do ours at the border, and it was easier than any other part of our border crossing. This is a 6 month tourist visa, and it costs $32 USD per person to purchase.

Veterinary records are also not necessarily required by the border, but we chose to print ours out, just in case either the borders asked for them, or we needed to see a vet for our dog while in Mexico. Some borders (like Tijuana) require that your dog is in a clean pet carrier to cross, but others don’t enforce this (like Mexicali, where we crossed).

Find Out What You Can’t Bring to Mexico:

There are a lot of things that you can’t or aren’t supposed to bring to Mexico. The items we chose to leave behind, either because they weren’t allowed, or the rules weren’t clear included:

·       CBD (including pet CBD)

·       Bear Spray and Pepper Spray

·       Peat Moss for our composting toilet

·       Fresh fruits and veggies

·       Alcohol

·       Firewood

Our friends also had issues bringing expensive camera gear across the border, and were required to pay an extra fee to bring their drone into Baja. Be prepared for anything!

IMG_8131.jpeg

Decide on a Border Crossing

There are three direct border crossings into Baja: Tijuana, Tecate, and Mexicali.

We chose to cross at Mexicali because it has short lines, and less strict rules about pets than Tijuana. Tijuana tends to have long lines, and because it’s located in a chaotic city, it may be harder to navigate. The Tecate border crossing seems convenient, but it also has long lines, and closes at 2pm everyday, so many people don’t make it through even when they’ve been waiting in line.

Now, you’re ready to cross the border. Decide on your first stop before getting through the border crossing, in case they ask, or you get stopped at a Military Checkpoint (routine checks to make sure you’re traveling legally), and have fun! Bienvenidos A Mexico!